Oh buddy! This is going to be a long one. I will start by saying this is a ore general how to as I am not an actual seamstress.... My only knowledge of sewing came from my 8th grade sewing class with Ms. Phipps or was it Phibbs?... My mom made me take it.... And I am sure glad I did. I tried to take as many detailed photos as I can because I thnk they can show what I did better than my words. Second, I made this up as I was going.... So there are things I would do different if there is ever a next time...
I got the idea from this when I saw this post from Kelle Hampton, from her blog Enjoying the Small Things. One of my favorite non design blogs... When I started thinking sout Christmas presents for the kids I nanny I came back to this.... So here goes my method to making a felt campfire.
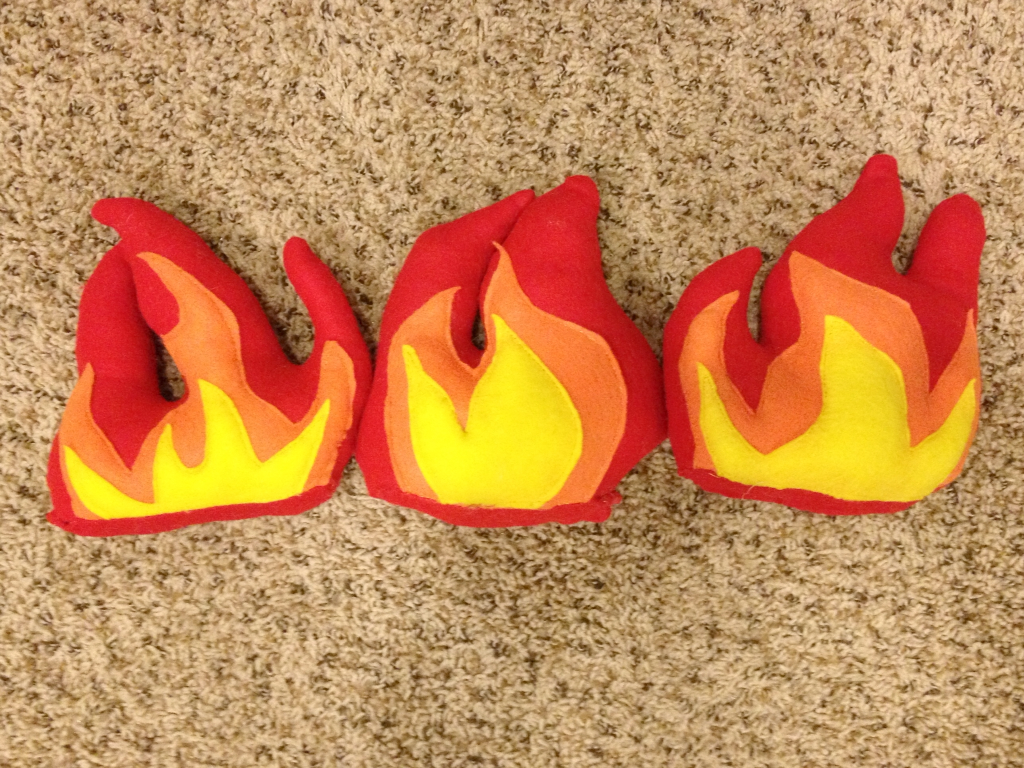
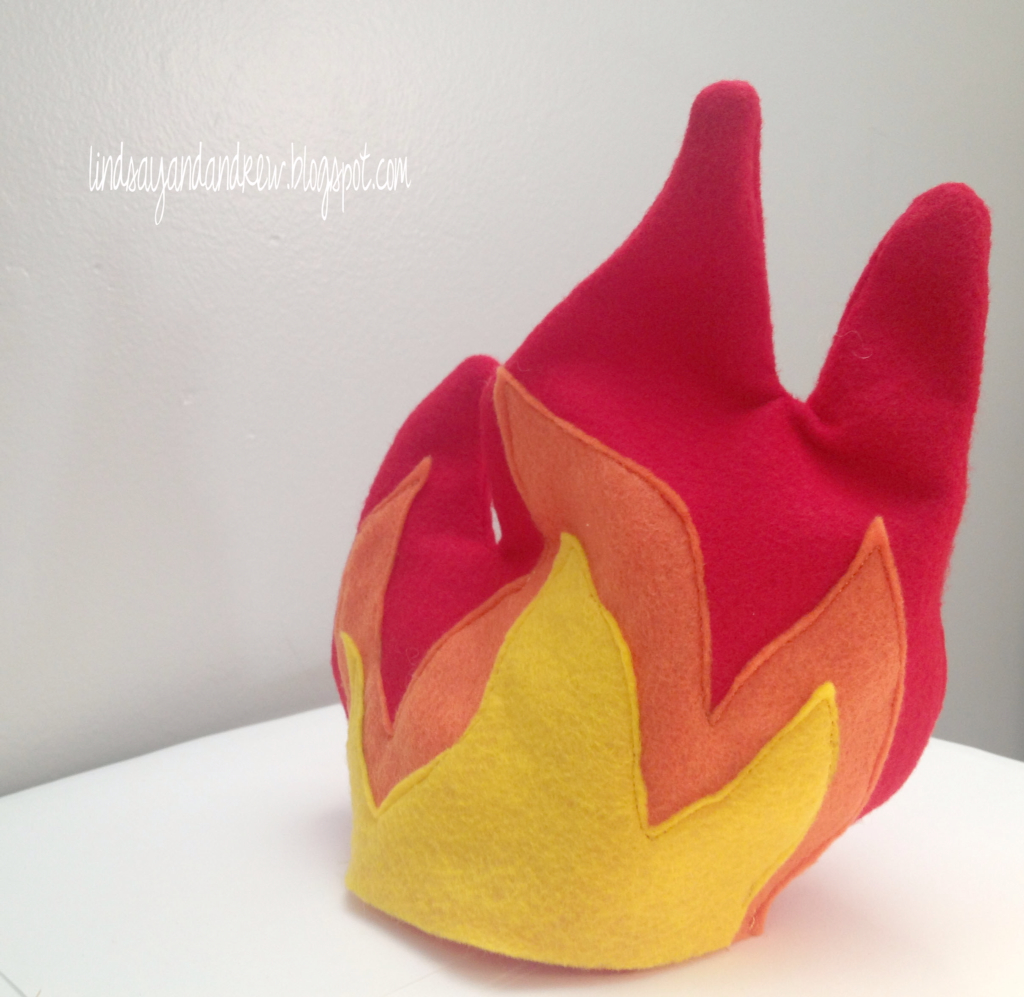
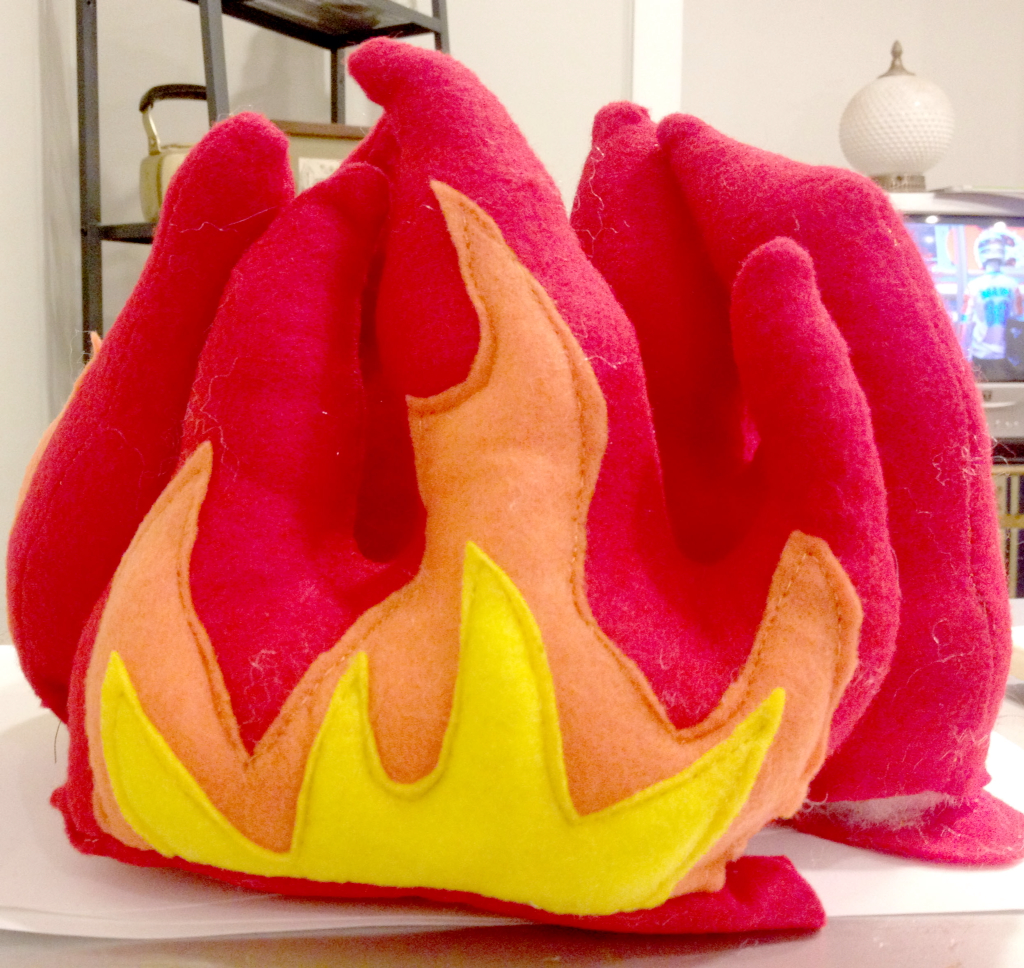
I made a three sided fire... Each a different size and shape. I am just going to show you one side, and the steps are the same for the other two.
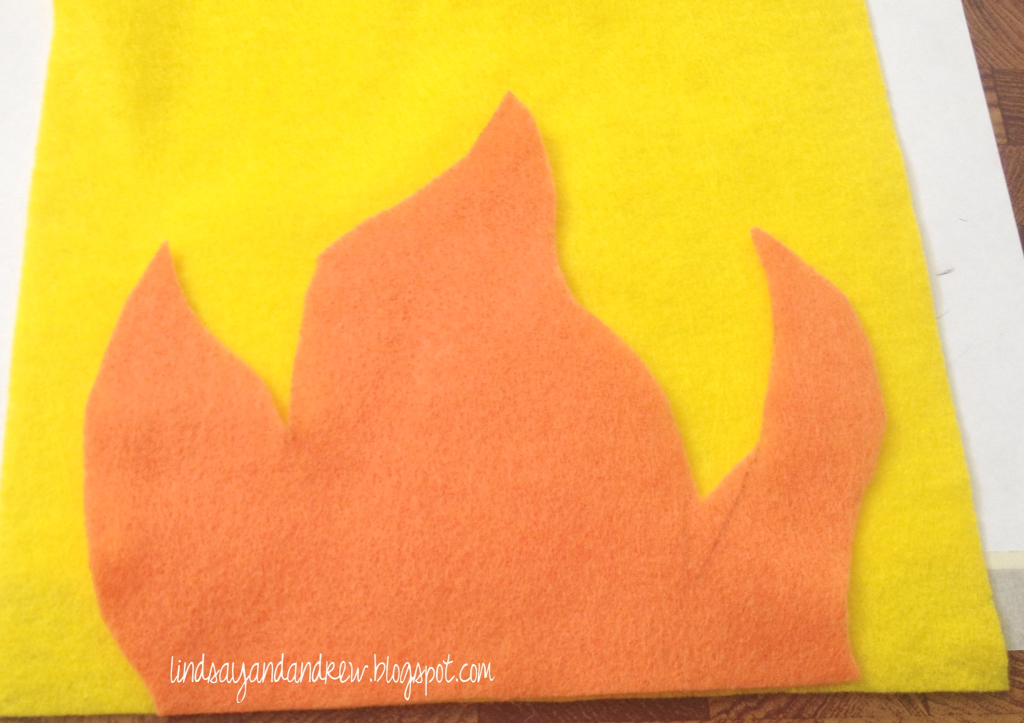
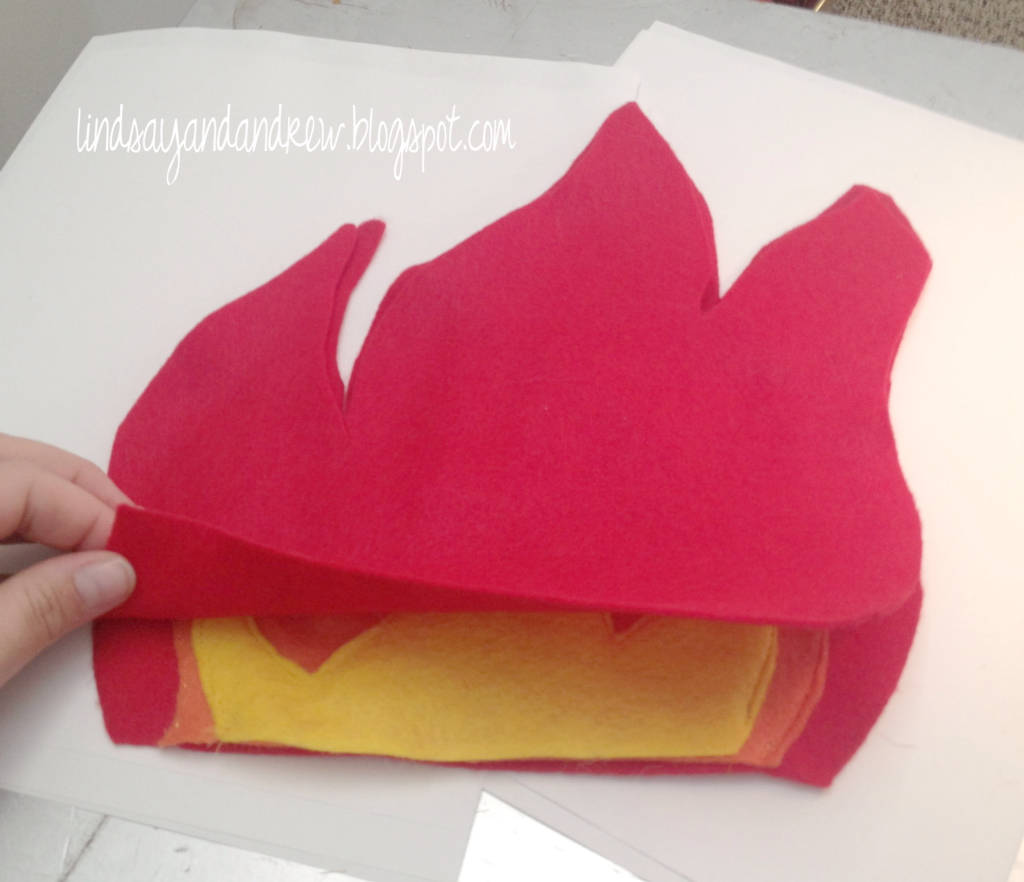
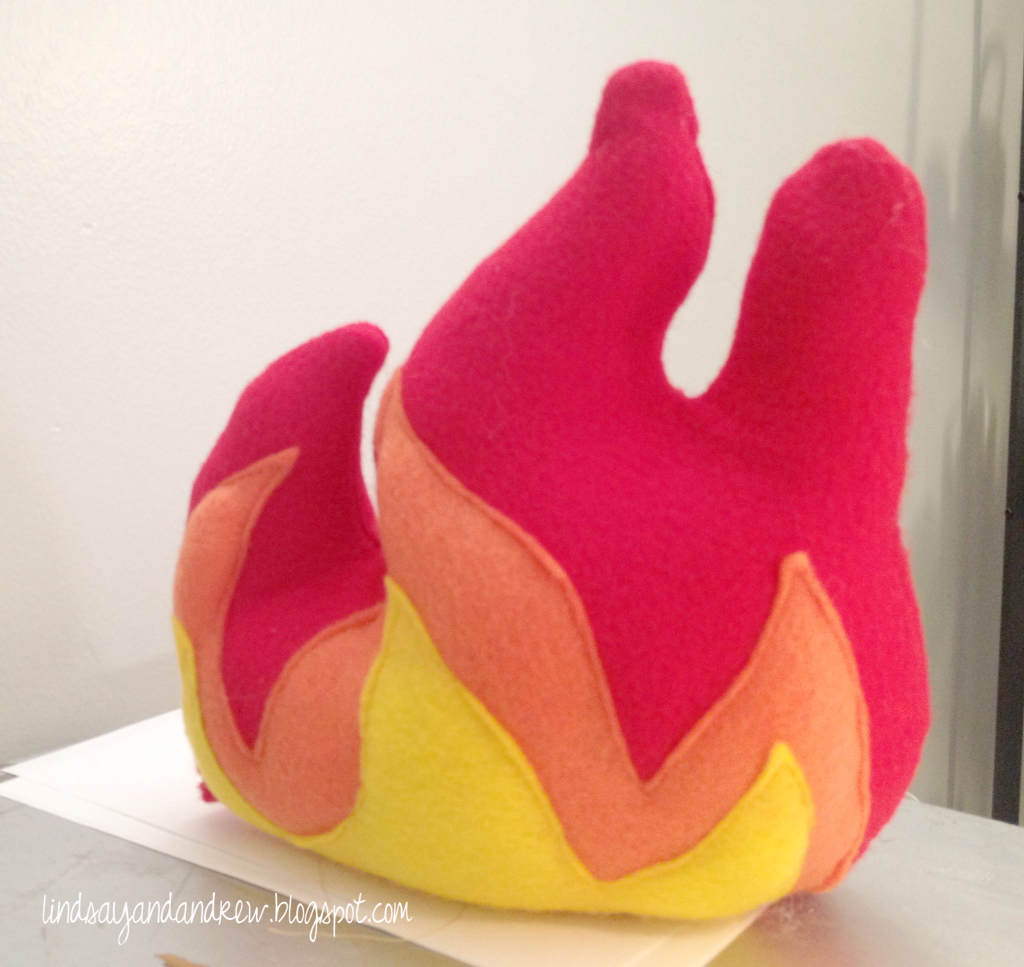
I started with the red felt and drew out freehand how I wanted the fire to look like. Remember to do your largest color bigger than how you want the final size to be. You will lose height and width with the stitching and stuffing.
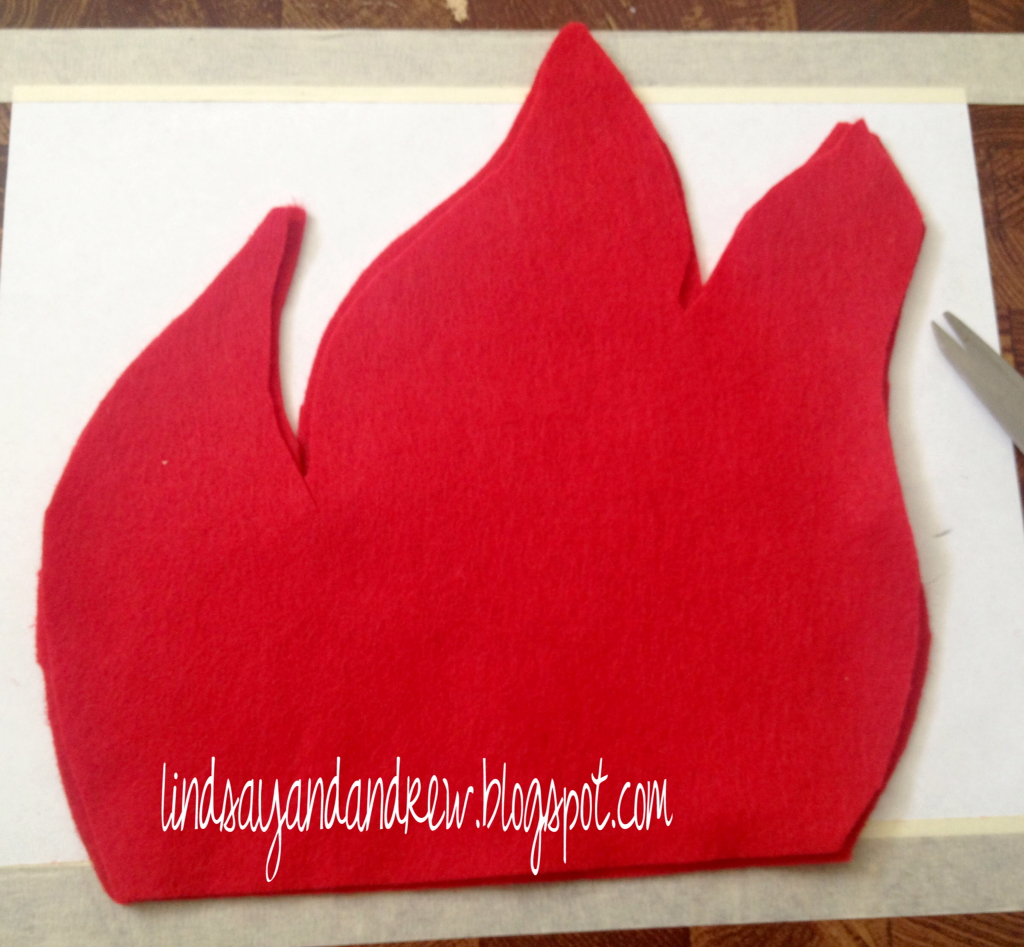
Cut out two reds same size and shape.
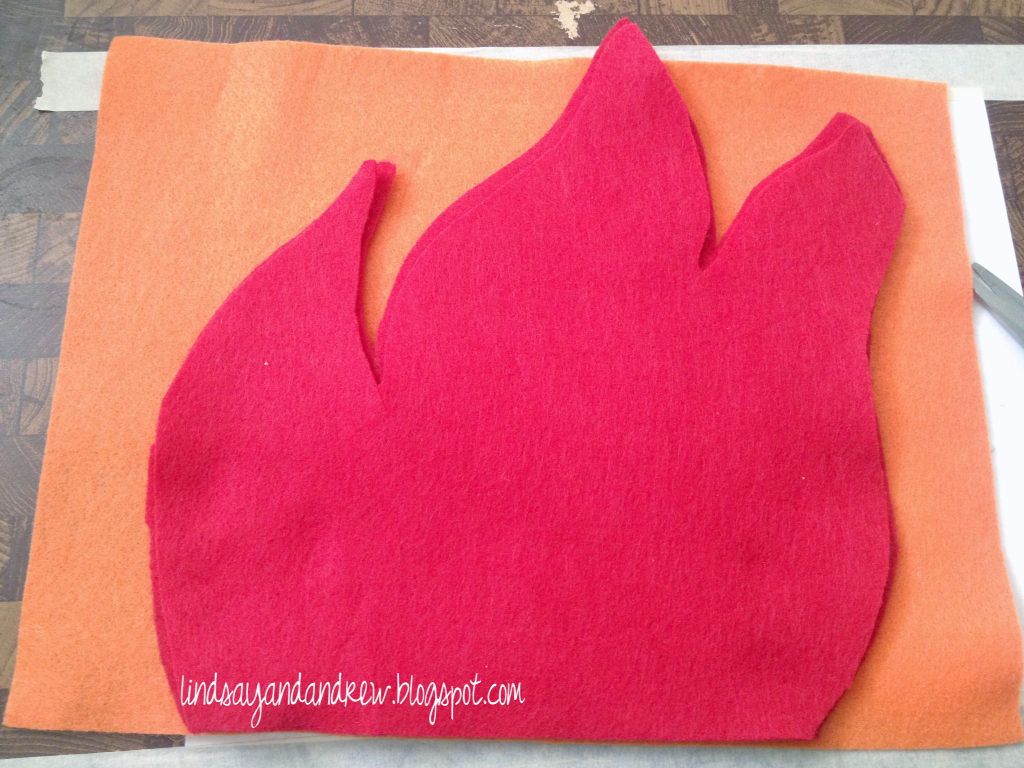
I set the red on top of the orange and traced the shape with a pencil. I took the red off and mimicked inside my outside line a smaller scale flame.
I did the same with the orange on top of the yellow. For the yellow and orange you only need one of each.
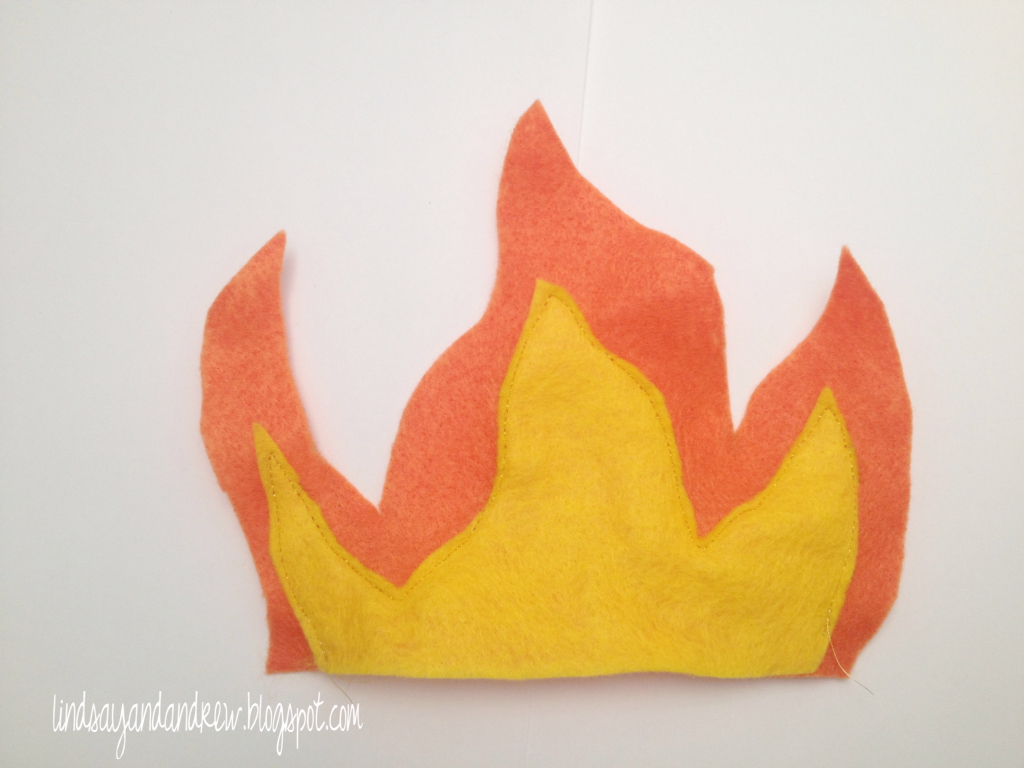
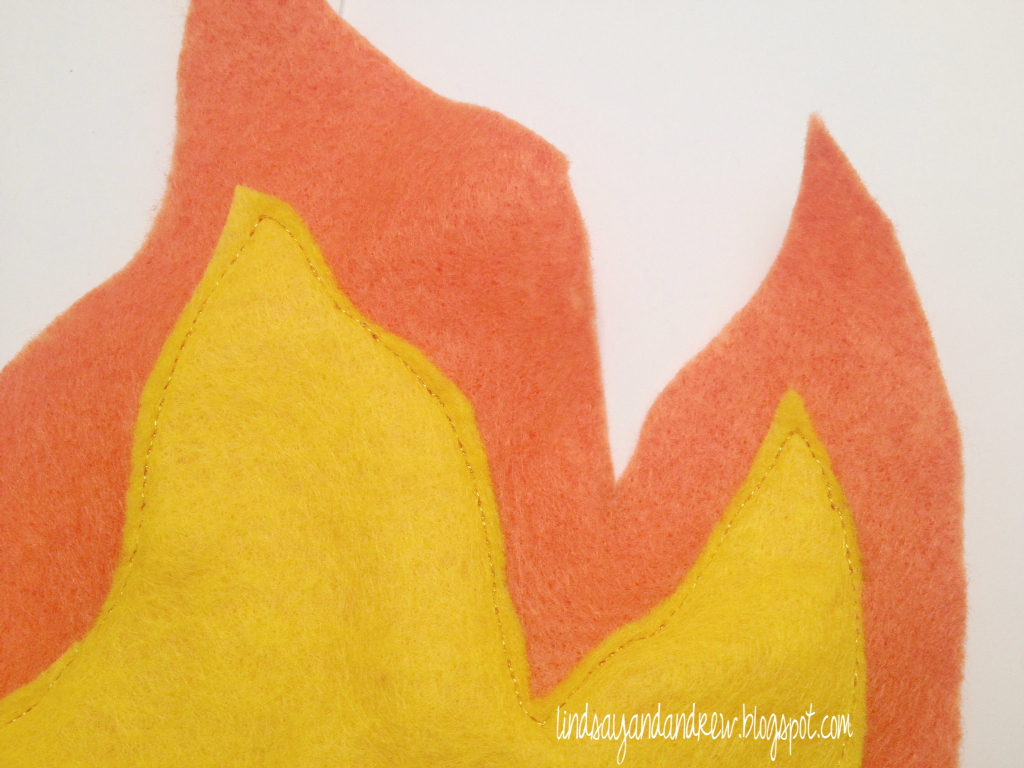
I used a metallic gold thread and stitched on the yellow to the orange...
And then the orange to the red.
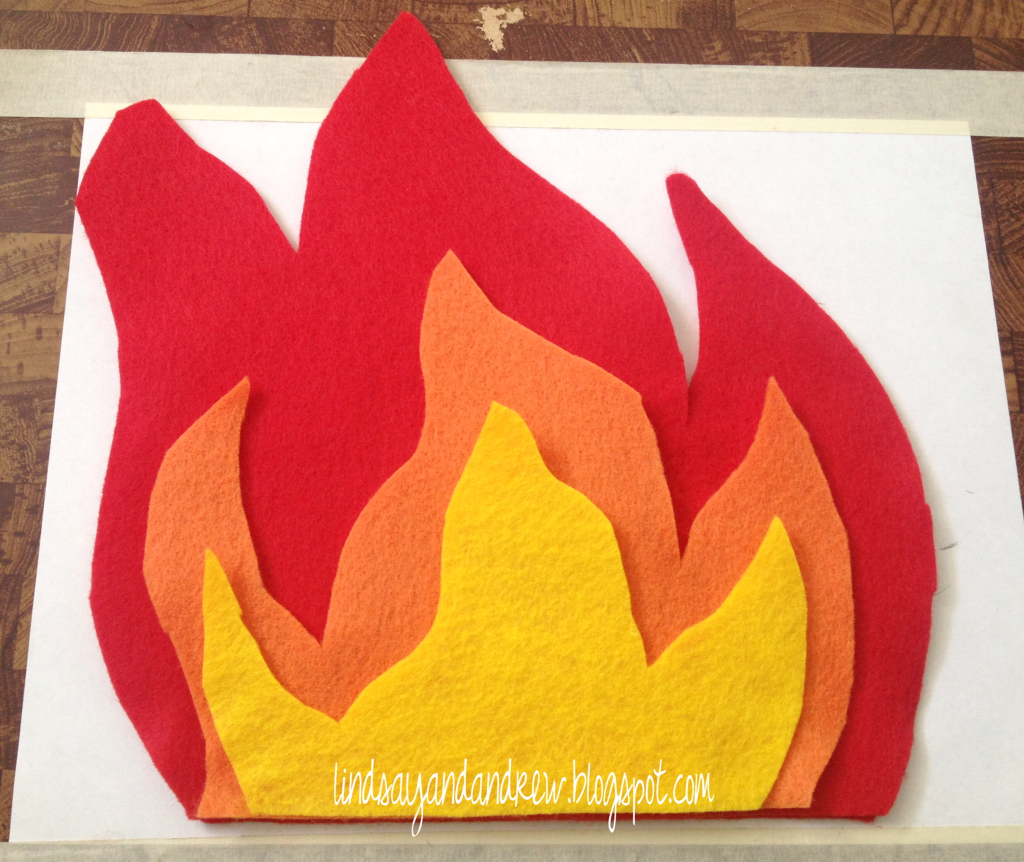
This is what they looked like stacked on top of each other before I stitched them together.
Then place the second red on top of the front of the other with the yellow and orange on the inside. I sewed around the edge with a 1/4" seam allowance.
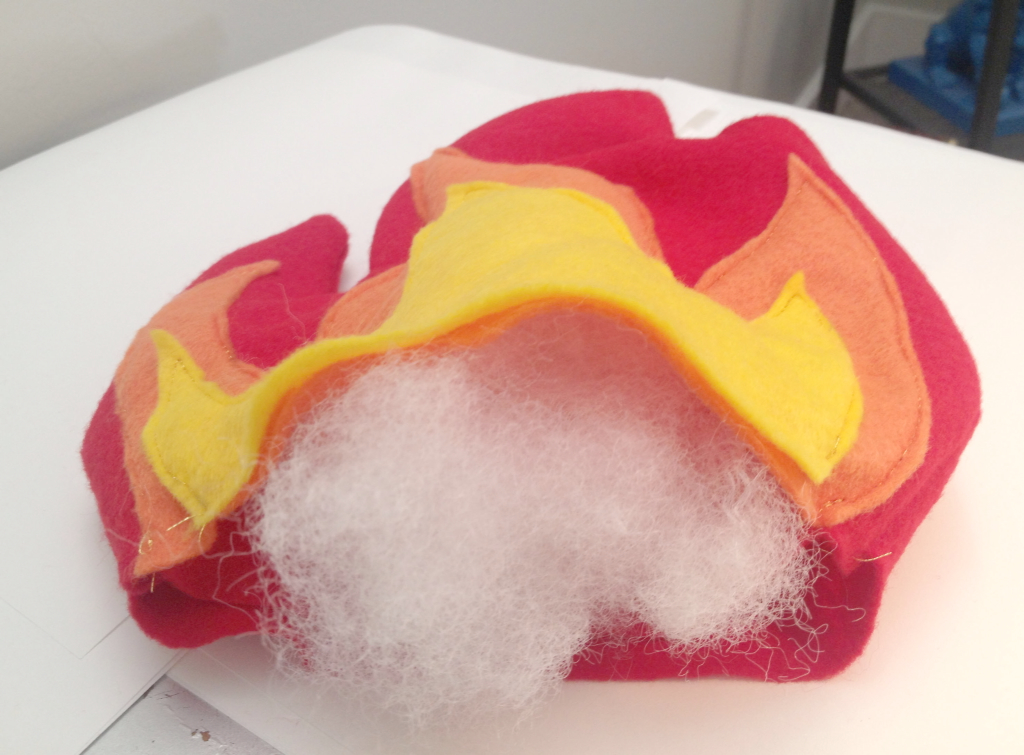
Turn it inside out and start stuffing.
I started with stuffing the orange, then the yellow. Other felt campfires I saw did not stuff the individual colors. I liked the extra dimension it gave. Then I sewed the bottom of the yellow and orange to the front side of the red. Don't see it all closed yet...
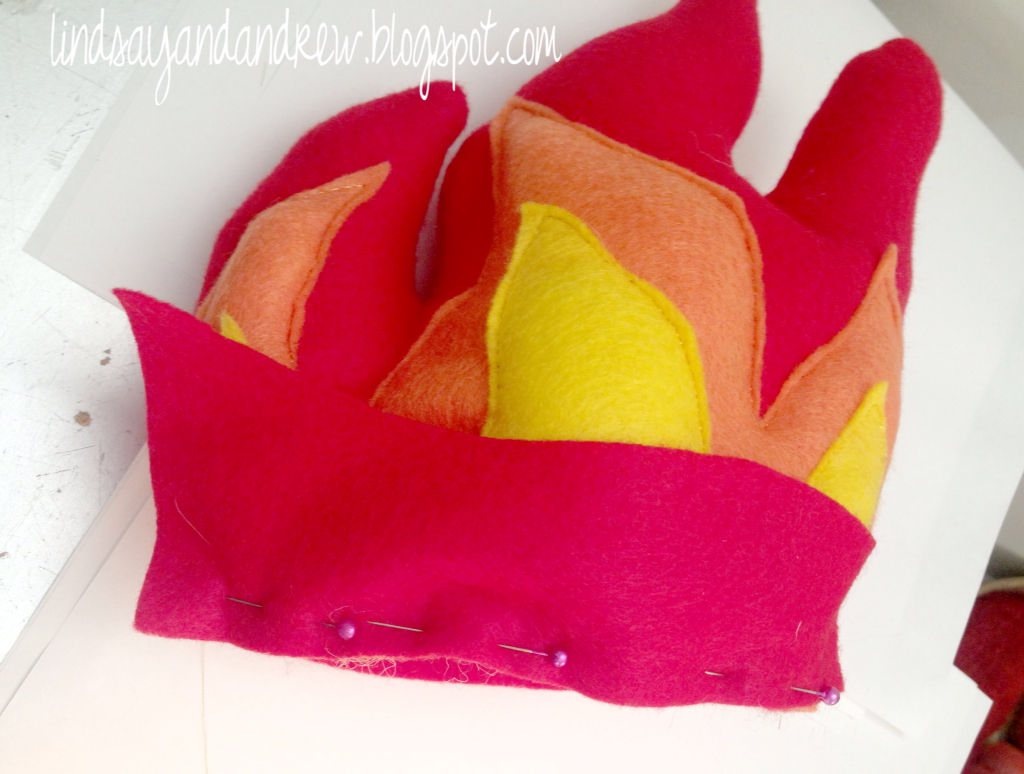
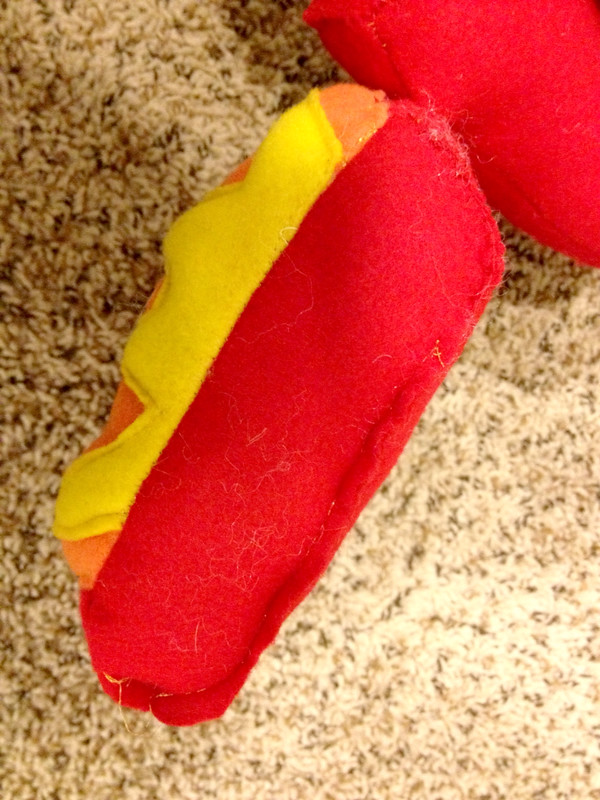
Then I took a scrap piece of red felt about 2" thick and pinned it to the bottom and sewed across the front. I stuffed the fire and stitched up the bottom flap to the back side of the fire. This is where I was making it up as I was going. There is probably a better way of doing this but it is what I did.
The flat base helps the fire to stand.
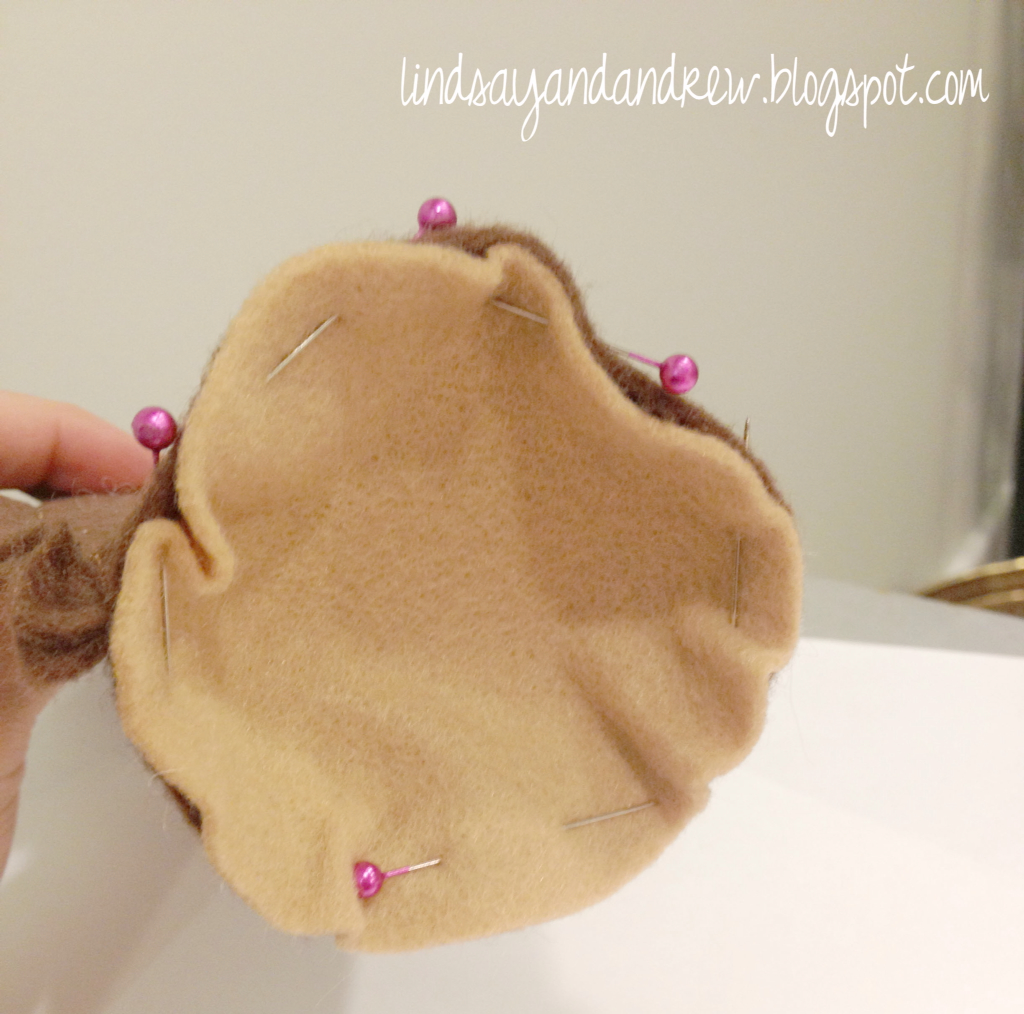
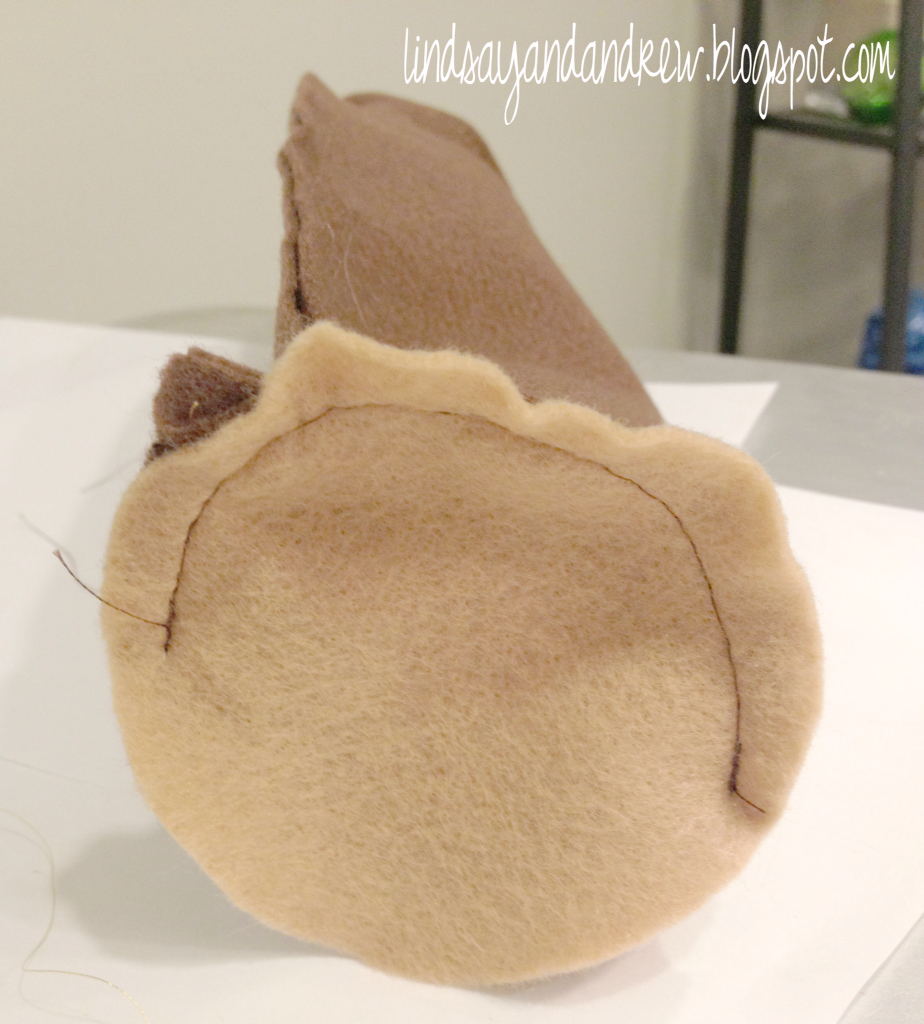
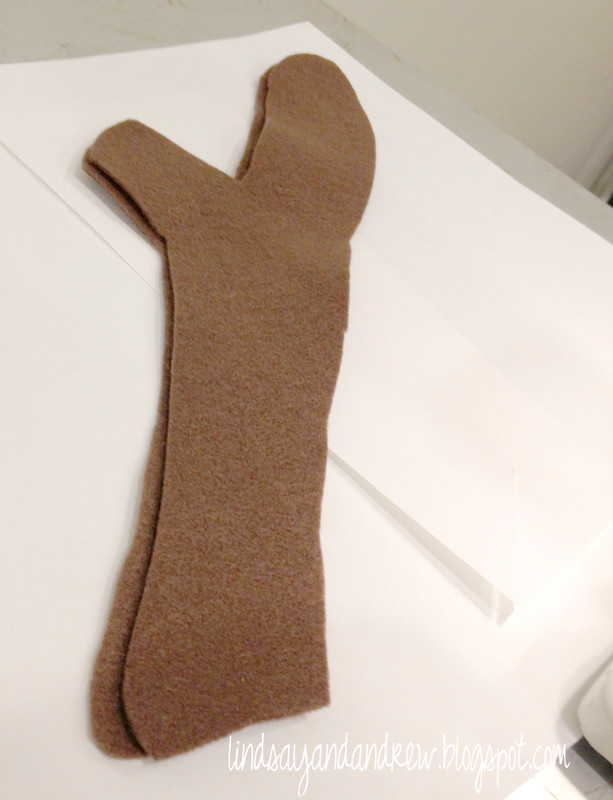
Then I eyeballed the size for a circle and pushed it into one end and pinned it. I sewed around the circle all the way on one end. And on the other end of the side I sewed half way around and left the other end open to be able to turn it right side out and stuff it.
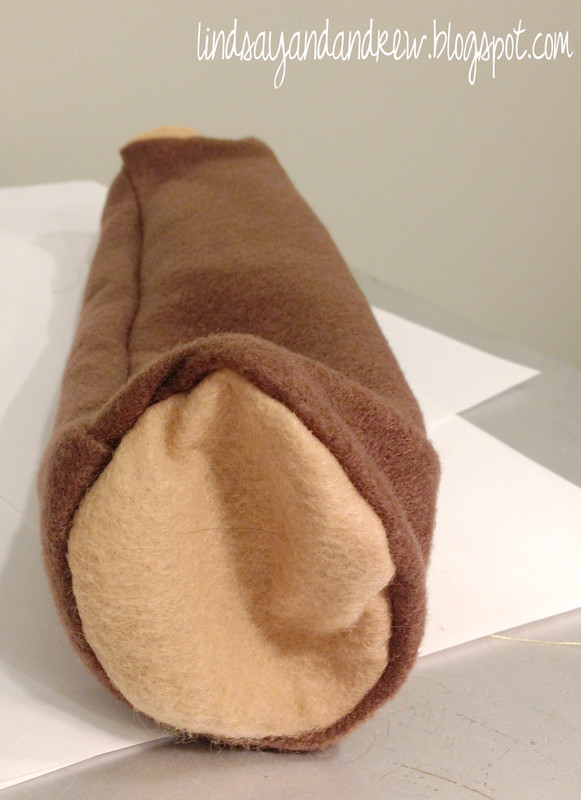
Turn it right side out...
Stuff it and hand stitch up the open end of the log. And you're done!
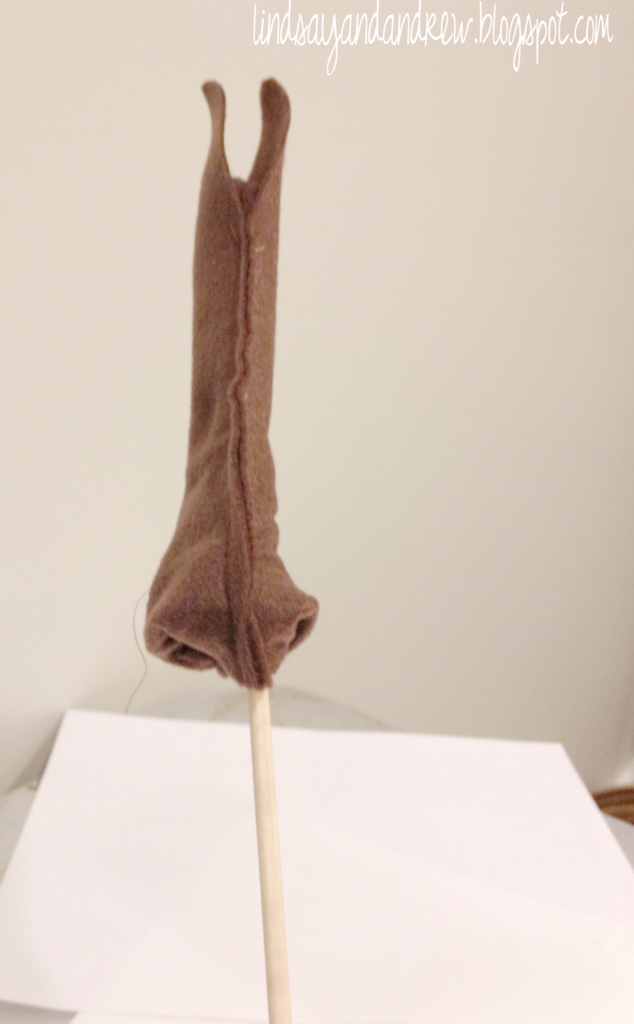
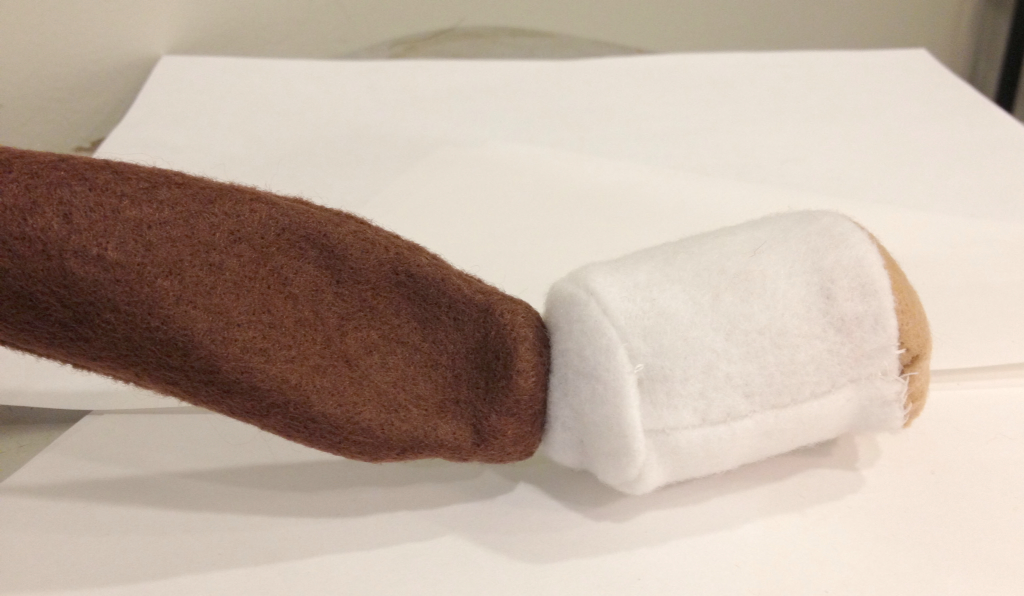
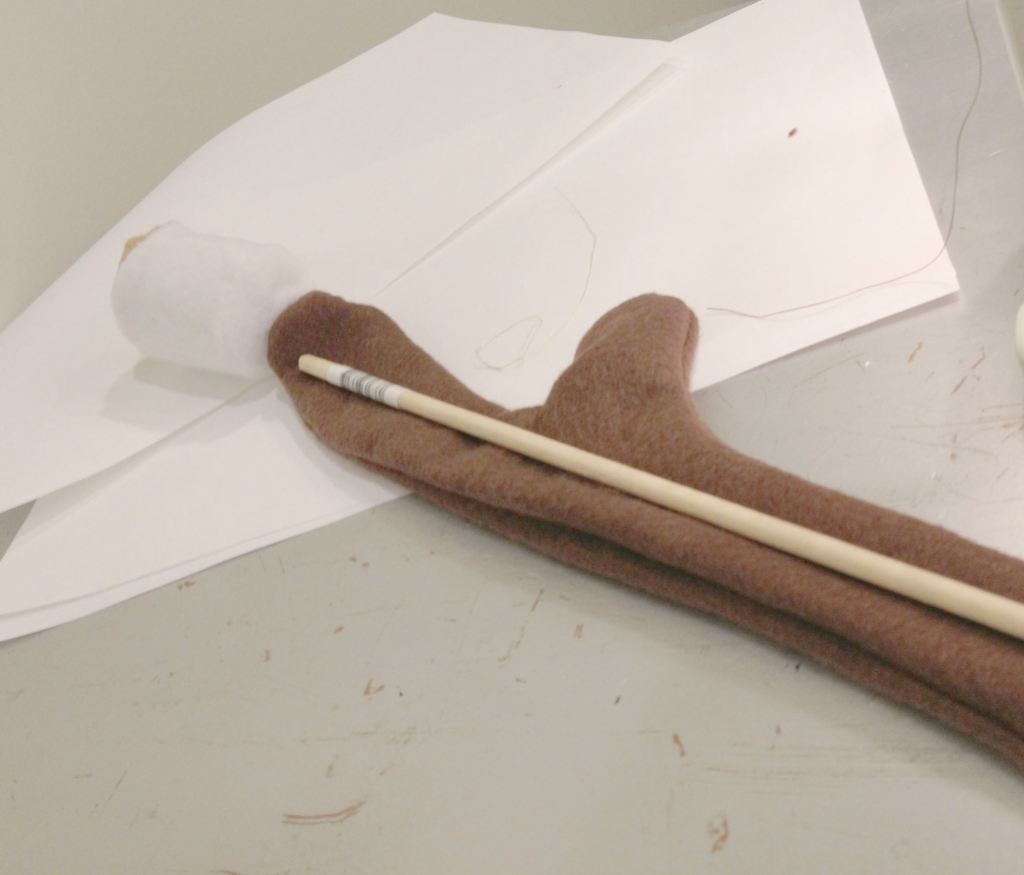
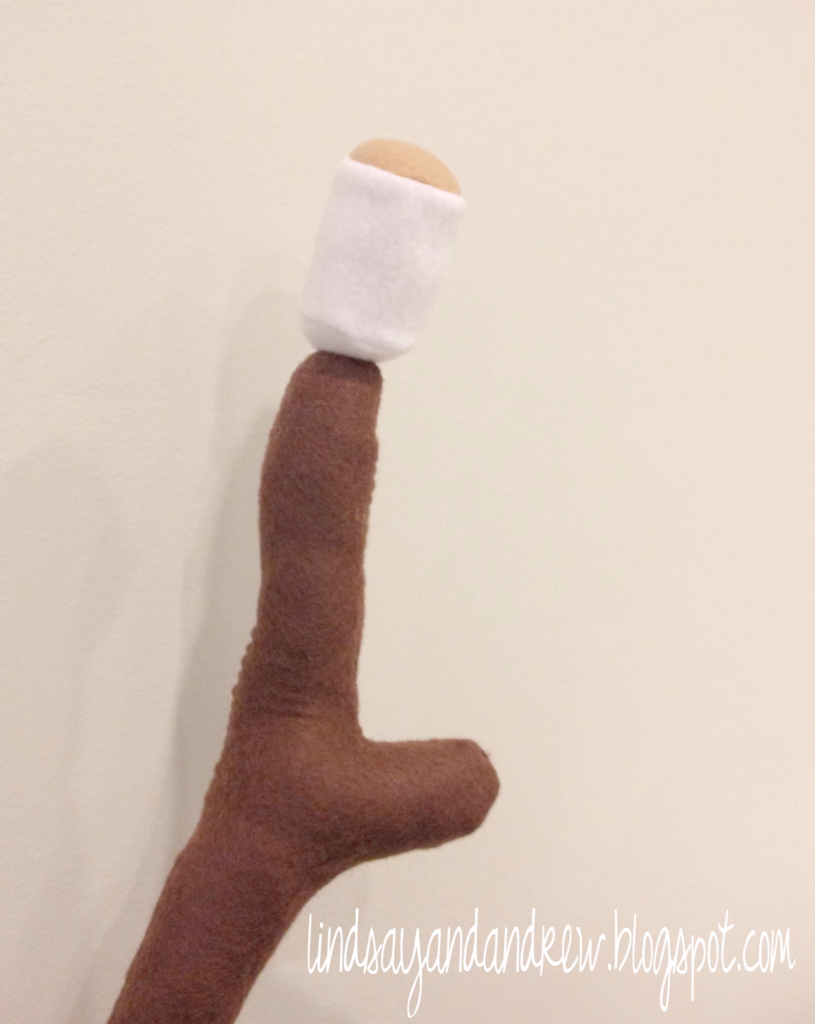
I wanted the tasted marshmallow and stick to be magnetic, so I shoved a magnet in first a little bit of stuffing and then cut the wooden dowl to size and shoved it in.
Done...
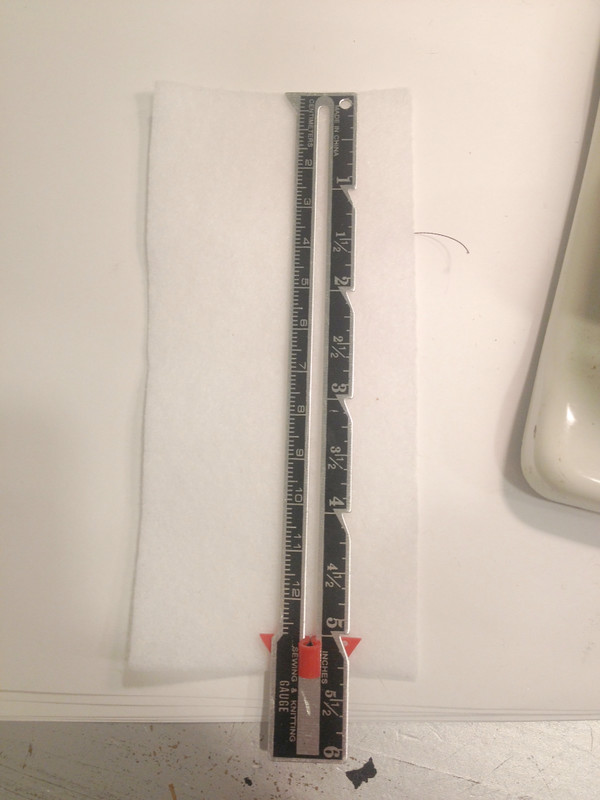
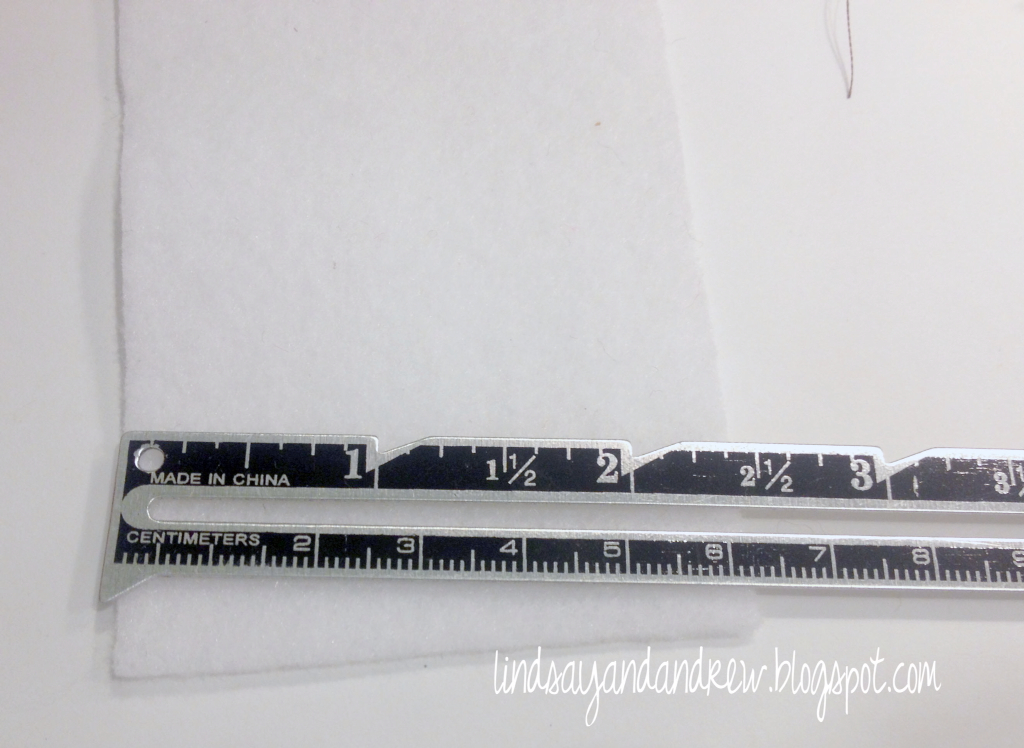
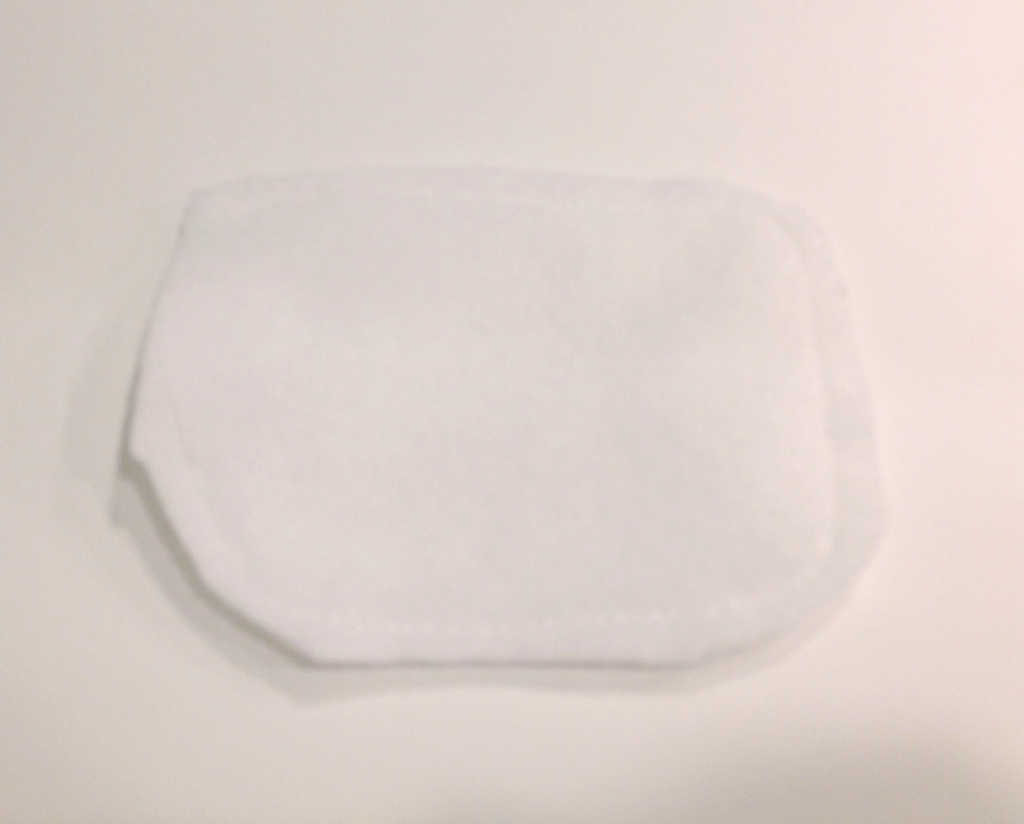
The magnetic toasted marshmallow were. Little tricky because they were small. I cut strips from white 5"x2.5".... If I were to do it again I would have made it a little less than 2".
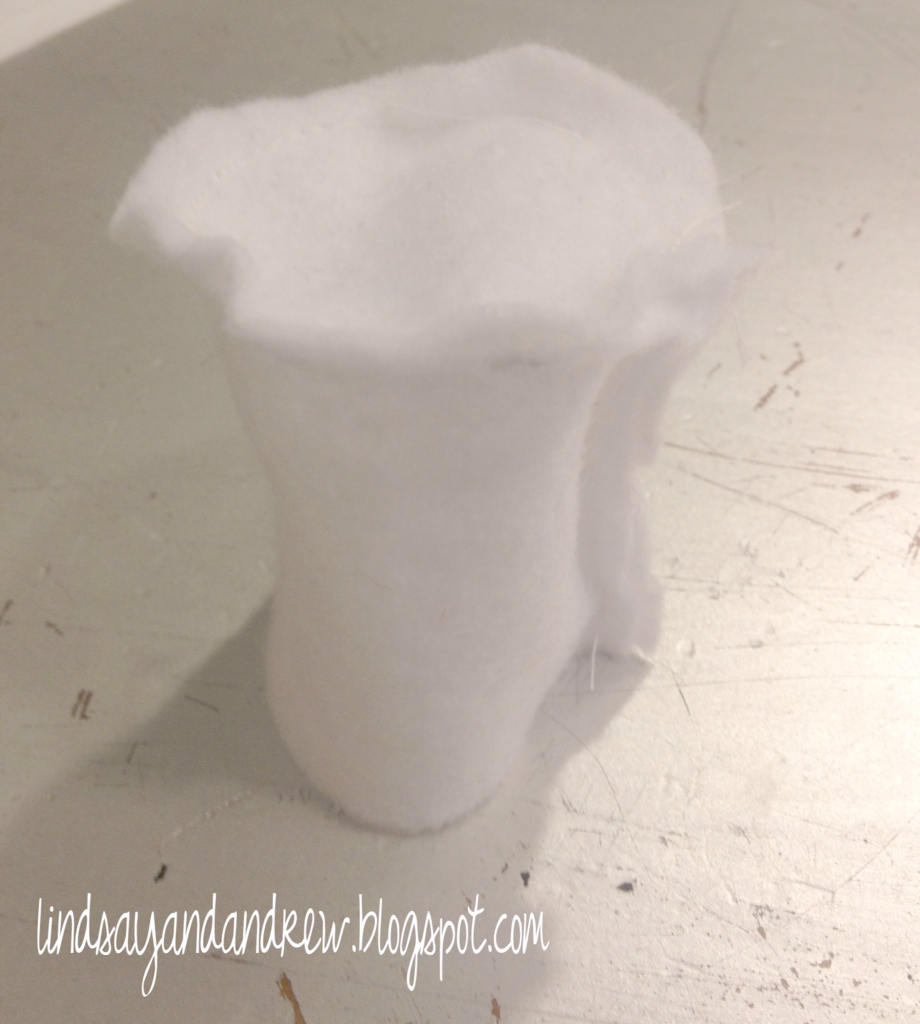
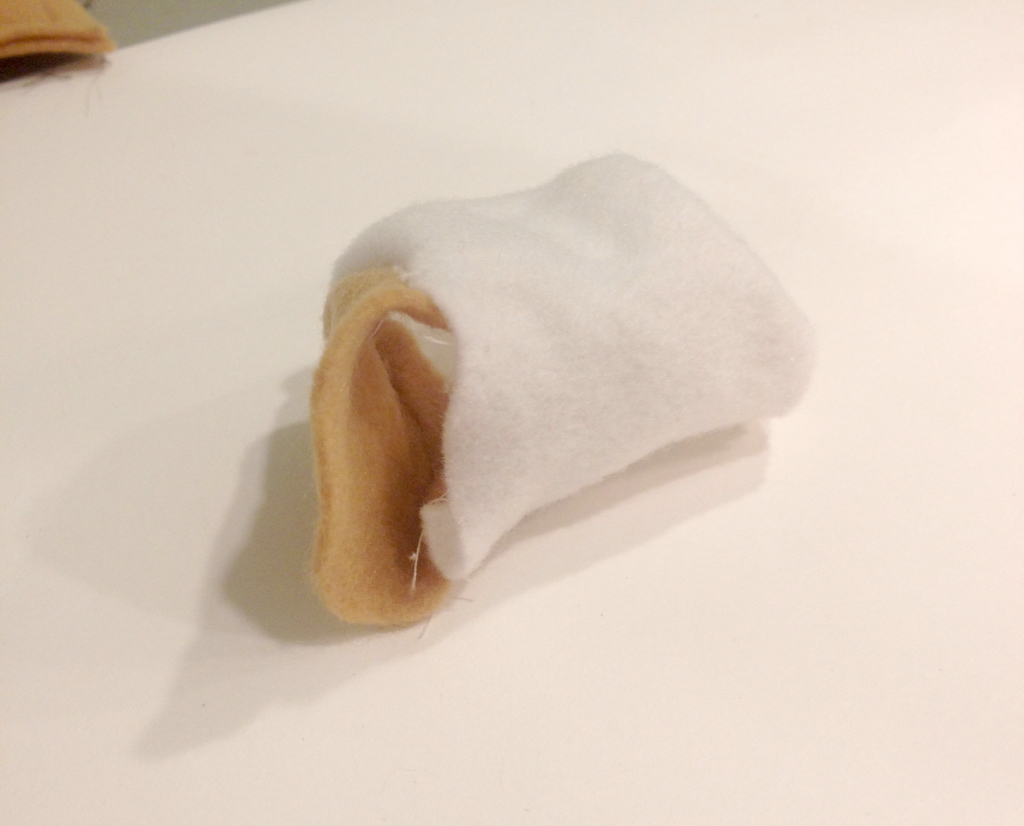
Then sewed it like I did the log...
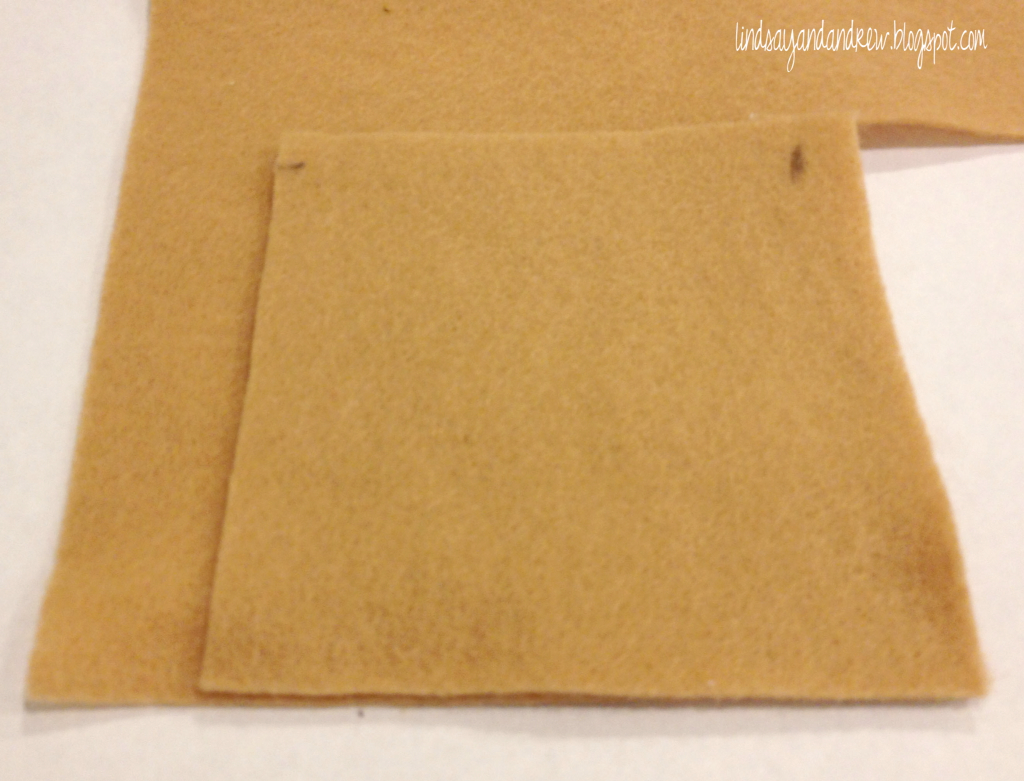
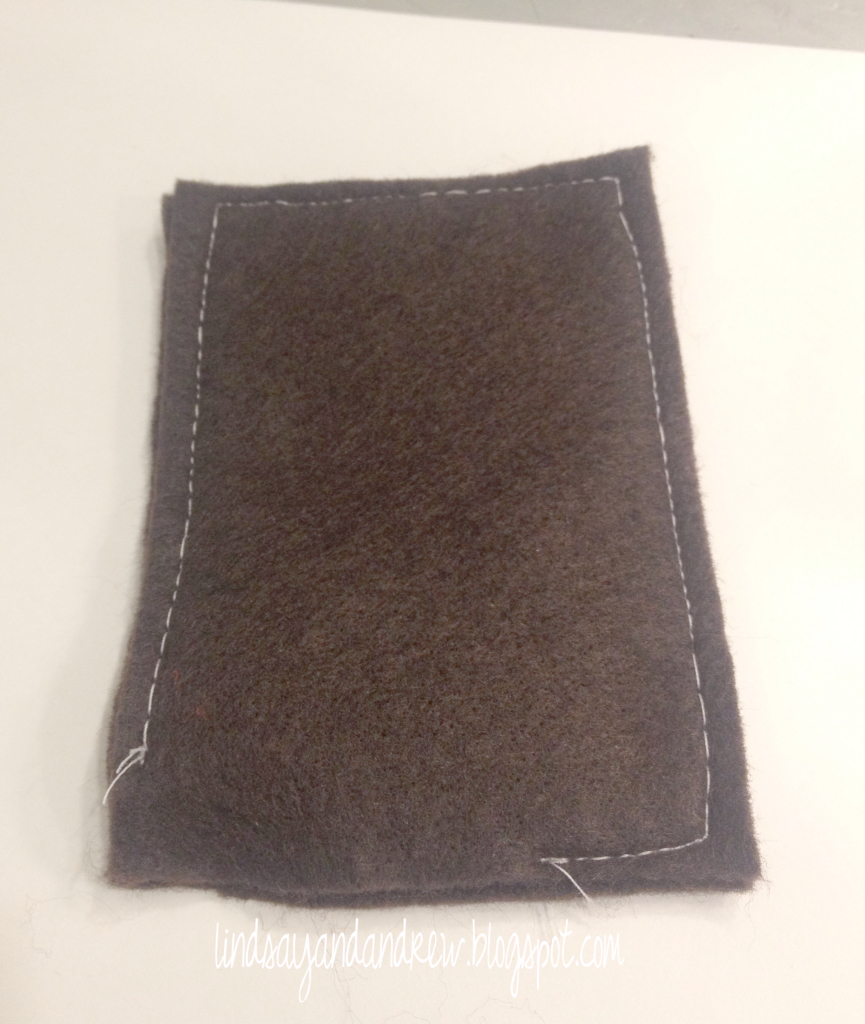
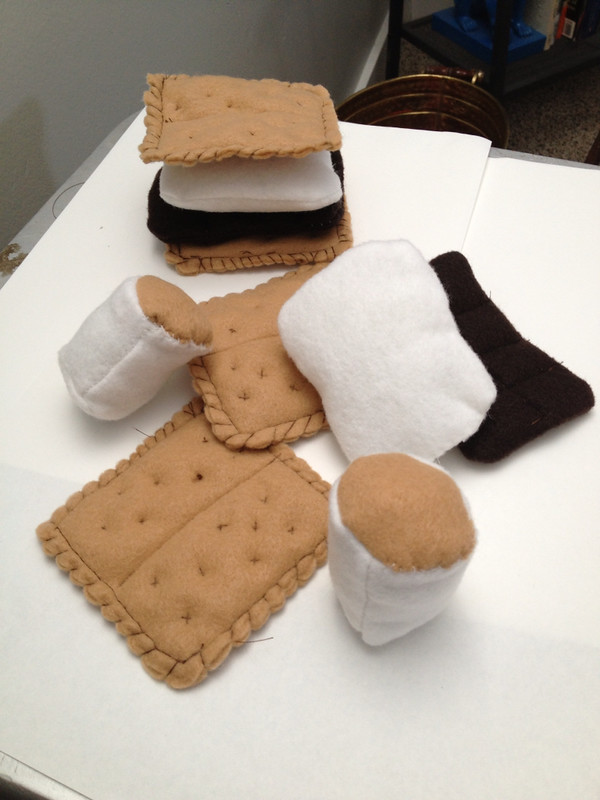
The graham crackers, I cut out two 3.5"x3.5" squares...
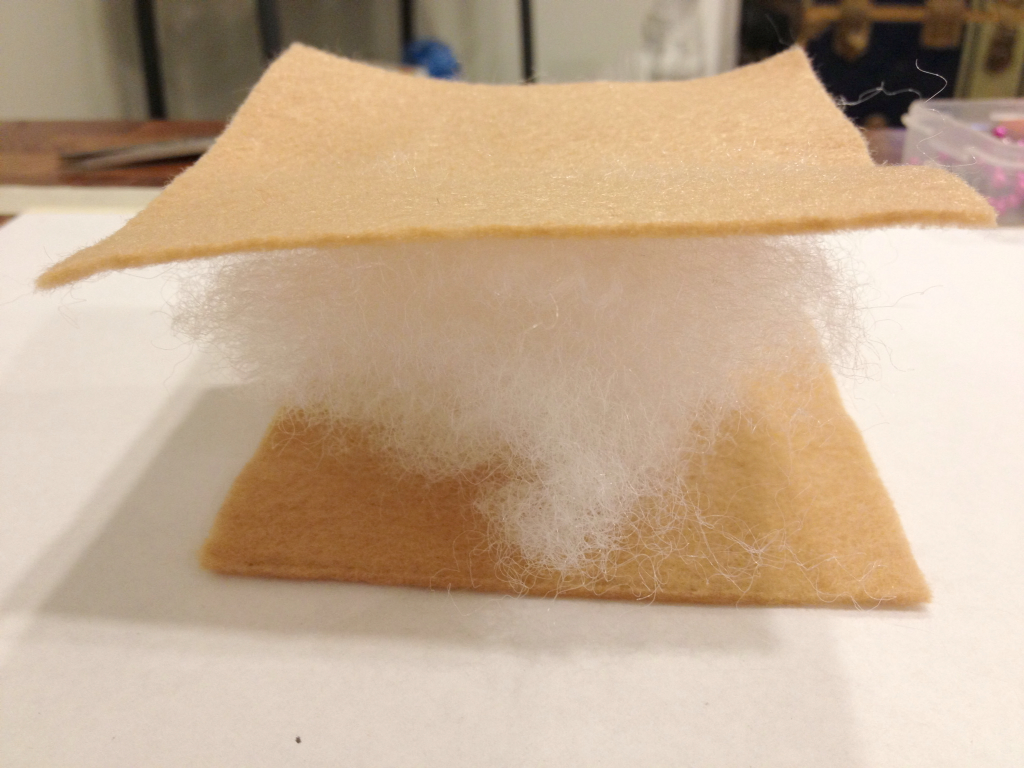
Put in a small pinch of stuffing...
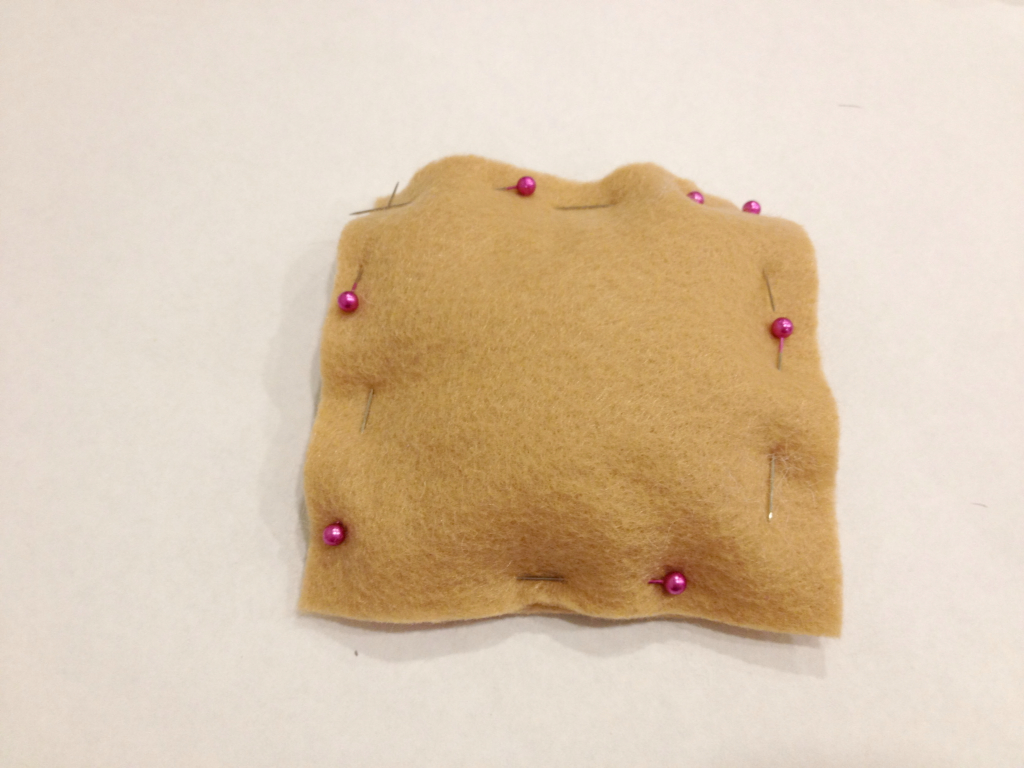
Pinned the sides....
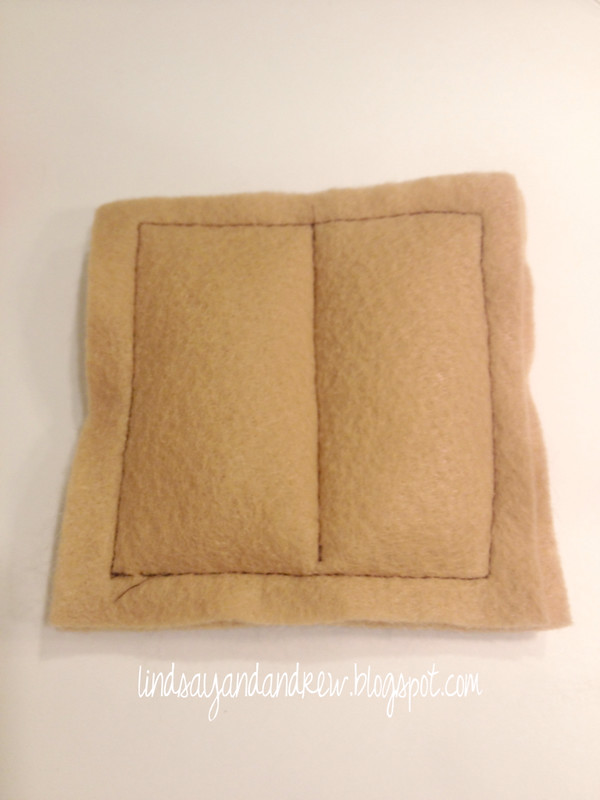
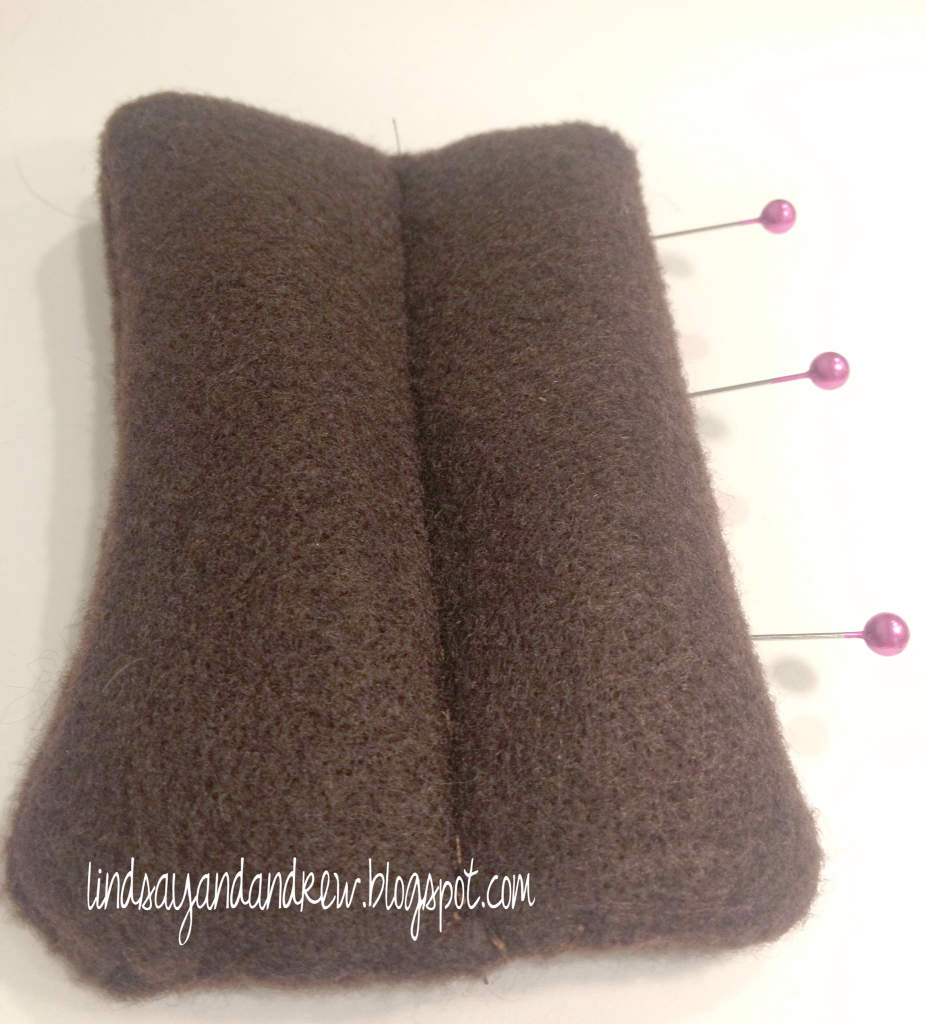
And sewed it with a 1/4" seam allowance and down the middle.
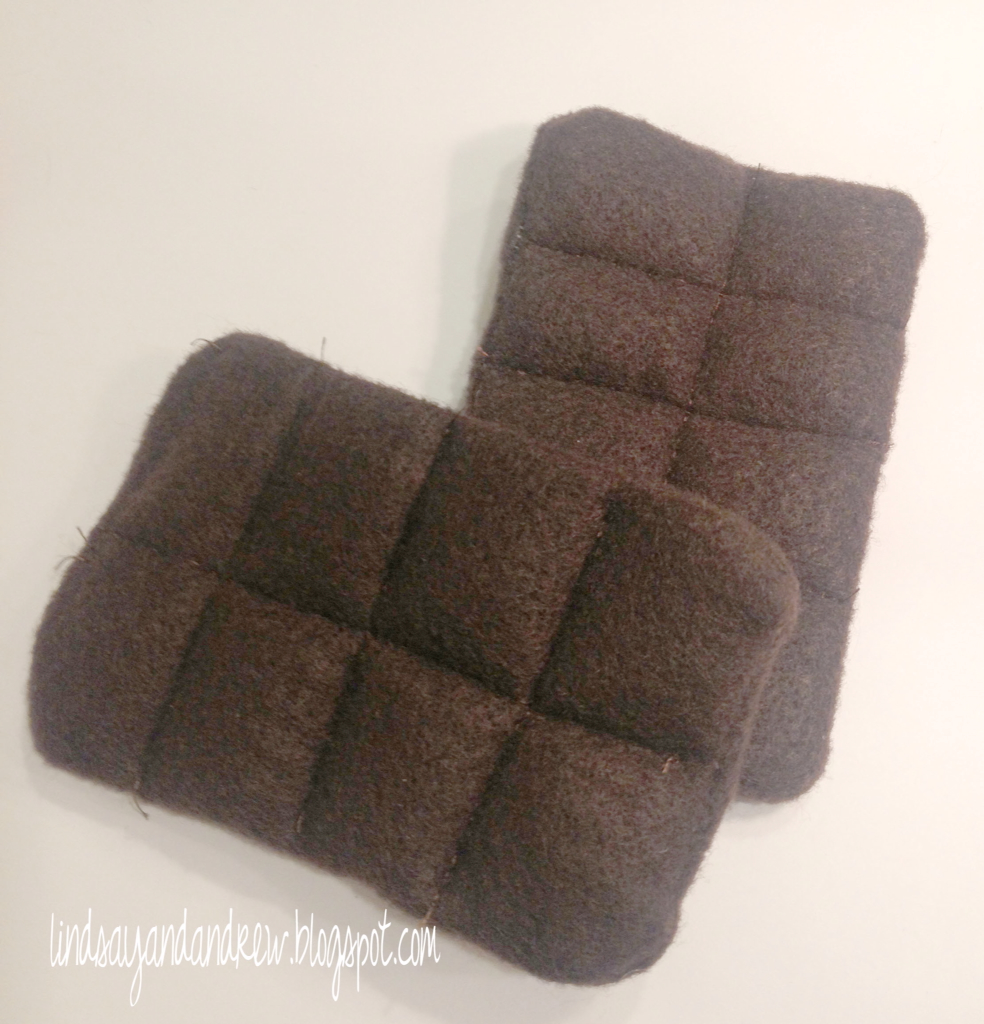
And sewed them up like little bars....
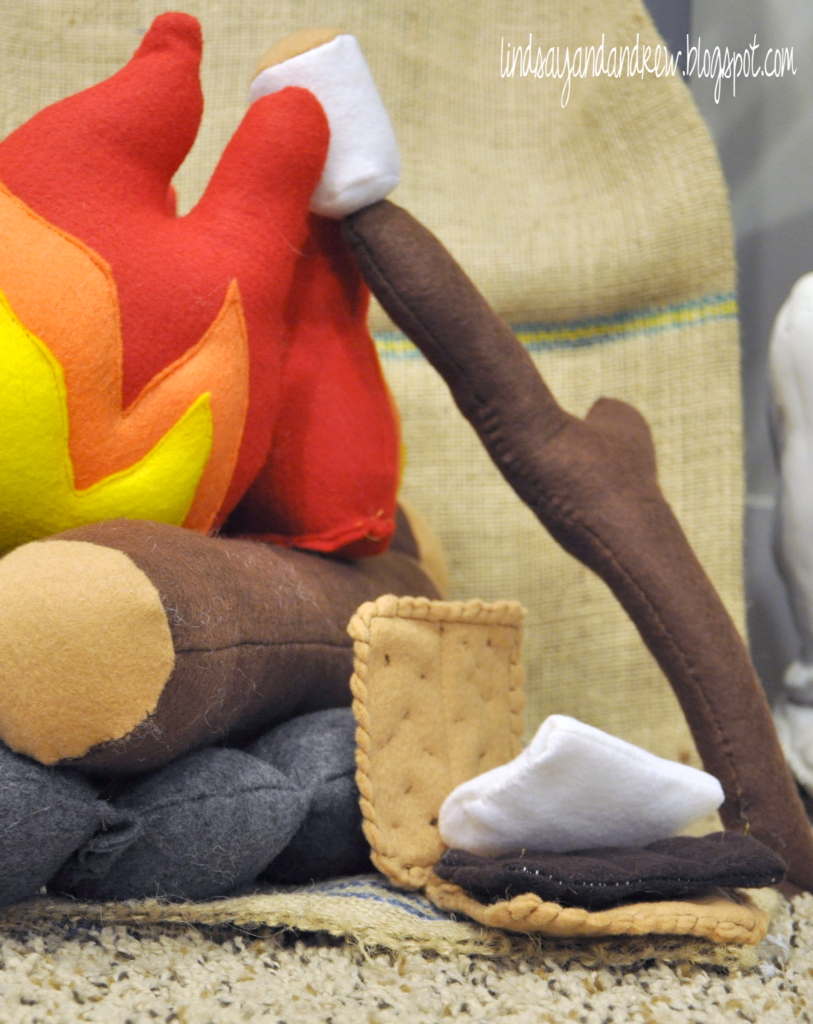
Here is the set before cleaned up the threads. You can see the tufted marks on the graham crackers and the edges on the marshmallows that I hand stitched closed.
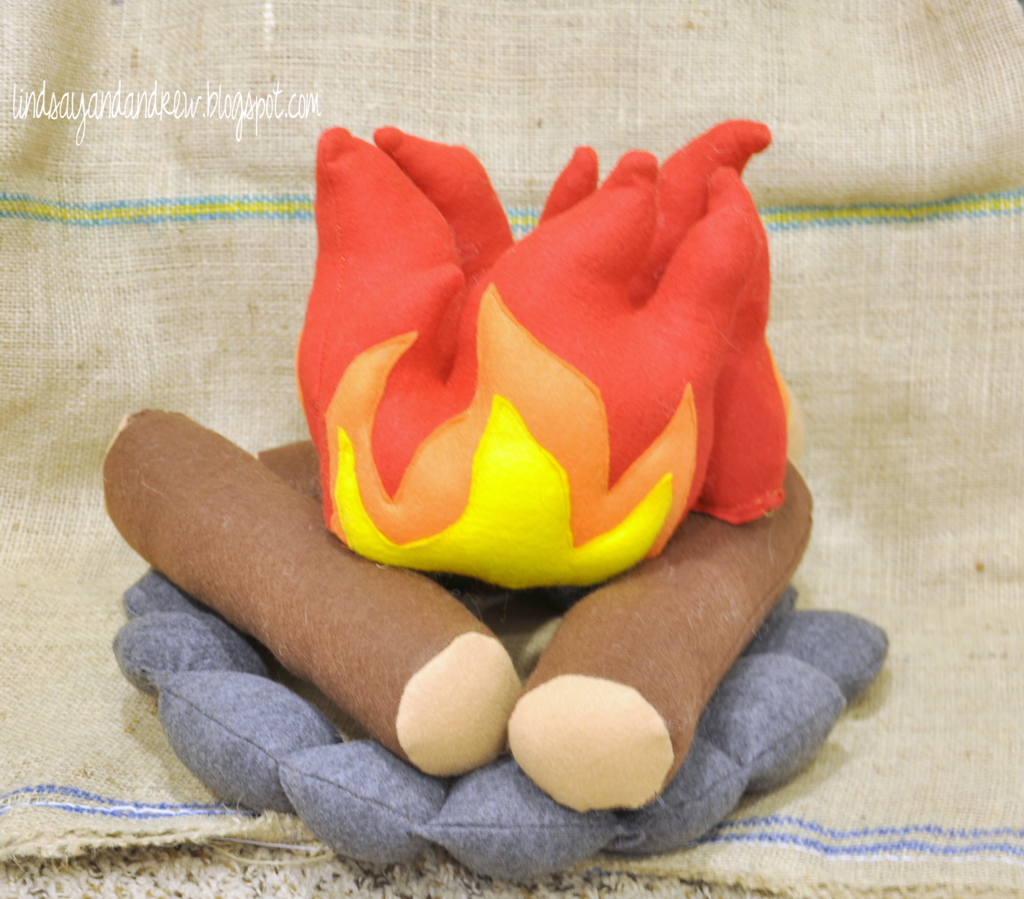
I didn't take pictures of the rocks.... That I was really winging.... I just cut out what could be described as a string if pearls in threes. Sewed up the sides, turned them inside out and sewed them together.... That probably makes no sense, but I'm sure there are many ways to make it work.
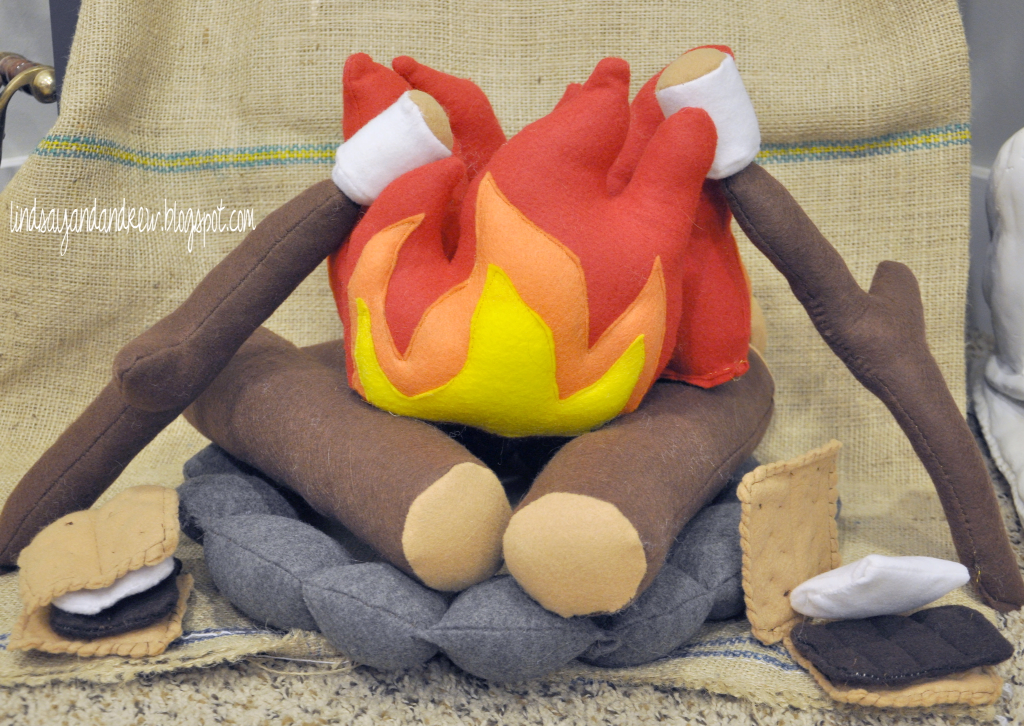
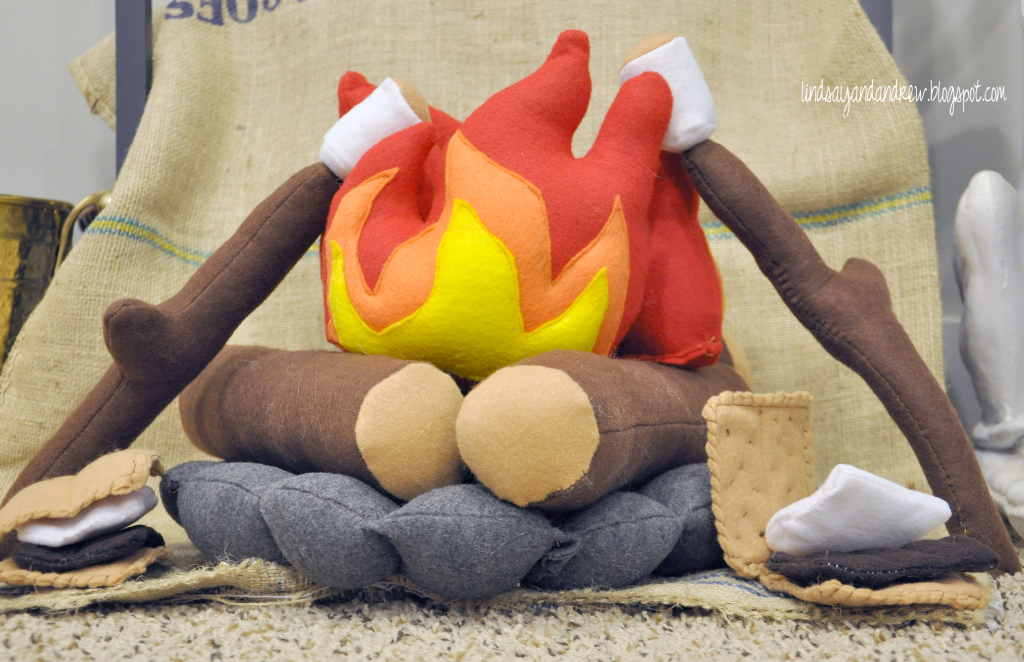
And my finished product....
Next.... The fishing pond...



Lindsay! How cute! I love it!!!
ReplyDeleteWow Lindsay, this is an amazon project and I posted on Craft Gossip Felting and pinned it on
ReplyDeletehttp://felting.craftgossip.com/2012/11/27/felt-campfire-stick-log-marshmallow-and-smore-tutorial/#
Please stop by and leave a comment :)
Linda
This is SO adorable! I just bought a cooking around the campfire book for my girls for Christmas - this would go perfectly! I wonder if I have the patience.... :)
ReplyDeleteYes! Patience is key ha ha! It took me several months to gather mine! Thanks for stopping by!
DeleteI'm so in love with this! Can't wait to see the pond!
ReplyDeleteThank you! The pond has been posted! I think a day or two after this post went up! Thanks for your comment!
DeleteLove it!
ReplyDeletethis is fantastic! thanks for sharing. I've been thinking of doing something like this for my boys' playroom
ReplyDeleteI have a question... I am making this for my nieces and nephew for Christmas but how do you finish off the sticks? Do you add a piece to the bottom or do you just close it up?
ReplyDeleteI did it both ways. The way I liked the best was just sewing up the bottom. But really i was just making it up as I was going so you may think of a better way to do it! Good luck! This has been a well loved present!
DeleteThank you so much!
DeleteI love the look of your rocks! Could you get me some more info on them? I'm a beginner and I cant process the string of pearl concept :)
ReplyDeleteI love it! I am going to try this! One idea I had was sticking a little velcro, hook side, on the flat marshmallow to help the s'mores stick together. :-)
ReplyDeleteThanks for the tutorial, I love the idea of using magnets. I'm going to try this, and I think I will add a BIT of velcro hook on the flat marshmallow to help the sandwich stay together. The boys are going to LOVE their new camping play set for Christmas!
ReplyDeleteI love that idea! I love when people can improve on something! I was winging it, so glad you could use it,
Delete