Drew did a finish trim job that I just had to share...
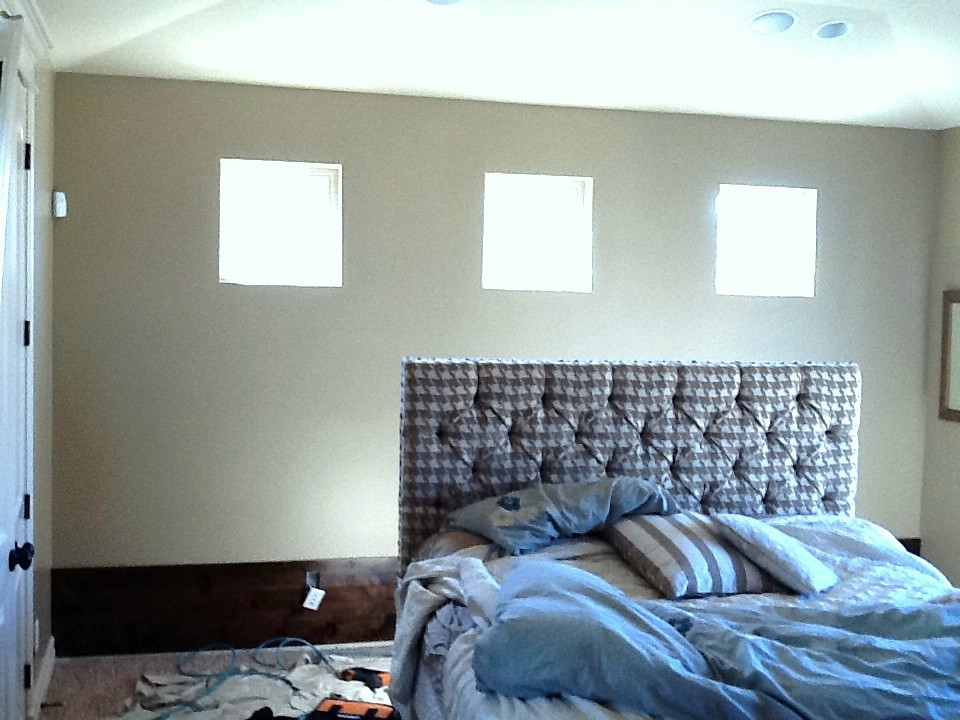
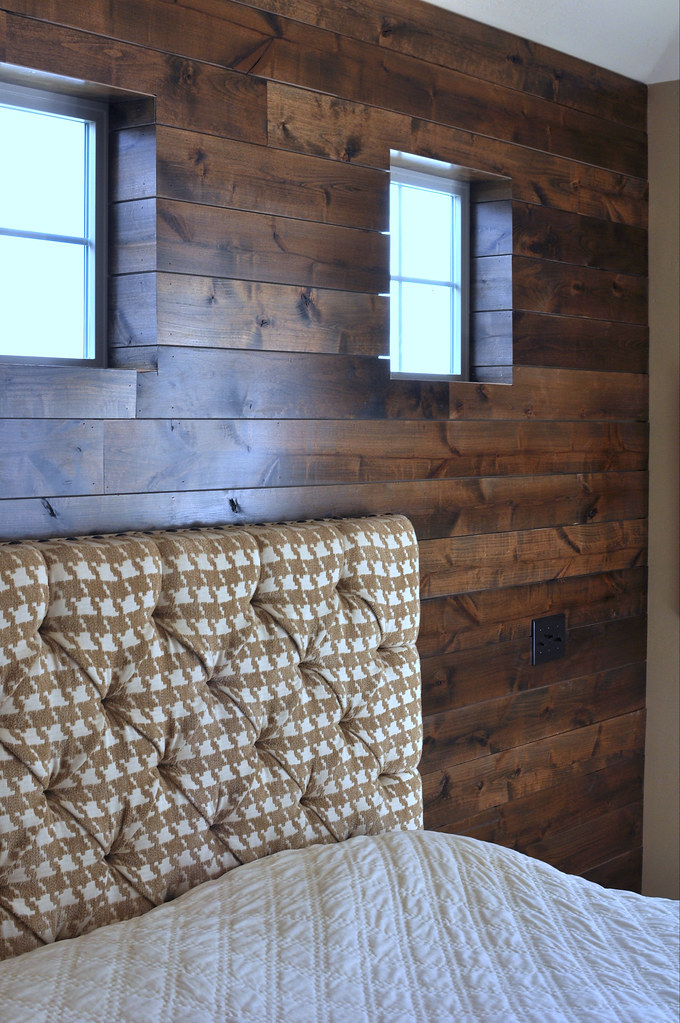
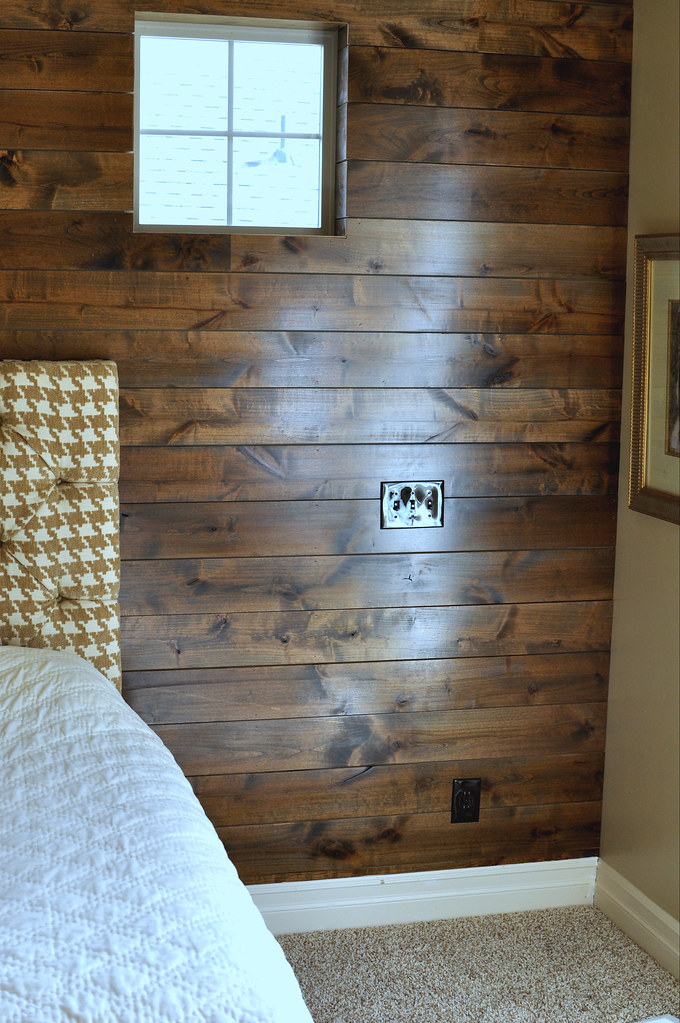
Boring, plain beige wall, no trim around windows... Boring, boring, boring.... I'll tell you what wasn't boring, was the owners, houndstooth, tufted headboard... I had no idea the houndstooth would translate so well onto a tufted piece... Now to make the wall match the headboard.
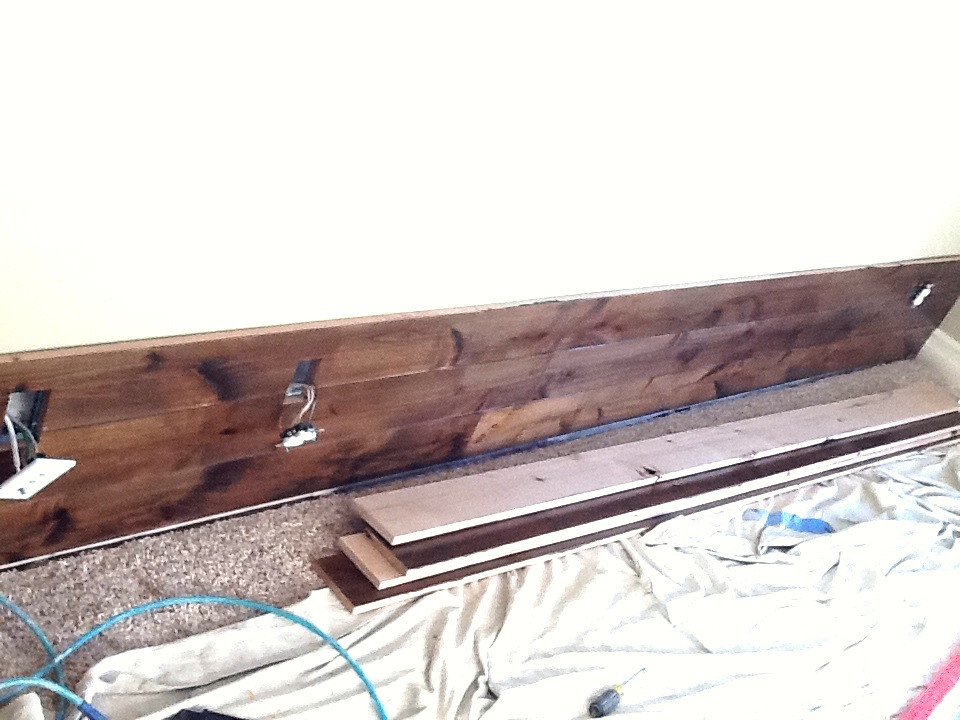
Drew had a shelf from another room, made out of a super expensive wood that the client wanted the wall to look like. Drew took less expensive wood, and stained it to match.... Plank by plank....
Drew's staining method is precise, and always turns out beautiful and not blotchy.
1. Start with Minwax Pre-conditioner... This helps the wood absorb stain at the same rate... This is key to avoid blotches.
2. Use cheese cloth rags to dip in and rub the stain on. Drew uses minwax stains, that are found at Home Depot. Always rub the stain on in the direction of the grain.
3. Let it sit...
4. Wipe of excess...
5. Apply second coat of Minwax stain.. I believed he used Walnut on this wood.
6. When the wood is the color you want, wipe off excess and let dry.
7. Then using sponge brush apply a clear coat. Drew also used Minwax's Polycrylic sealer.
8. After clear coat dries according to instructions take a fine grit sandpaper and knock down the sealer...
9. Don't worry about wiping between coats of sanding and sealing... It all gets absorbed.
10. Final coat of sealer... and done.
To install...
1. Drew started at the base of the wall and marked some level marks with a chalk box and a level. This helps keep the boards straight... After the first few, they sit on top of each other so there isn't too much room for error.
2. Then he shot on the boards with his Ridgid Nail gun, shooting 16" on center as much as possible because that's where the studs are in the wall..
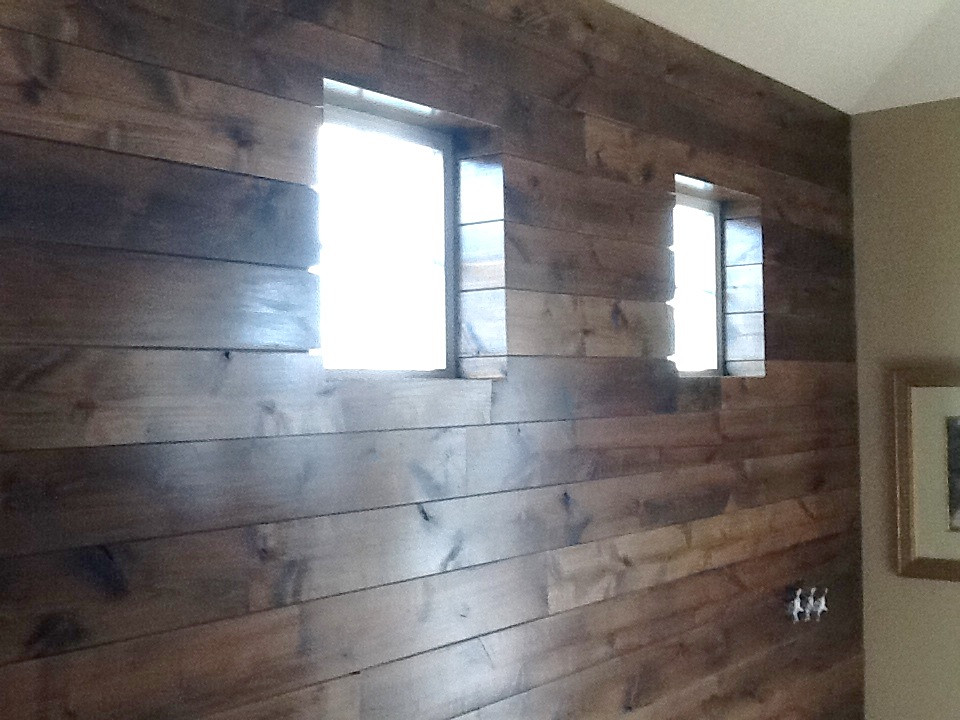
3. When he got to the windows this is where it got tricky, he measured the distance and cut the planks to size, then mitered the ends on 45 degrees and returned them into the window with short cuts also one side cut on a 45 degree mitre.
4. Repeat, Repeat, Repeat...
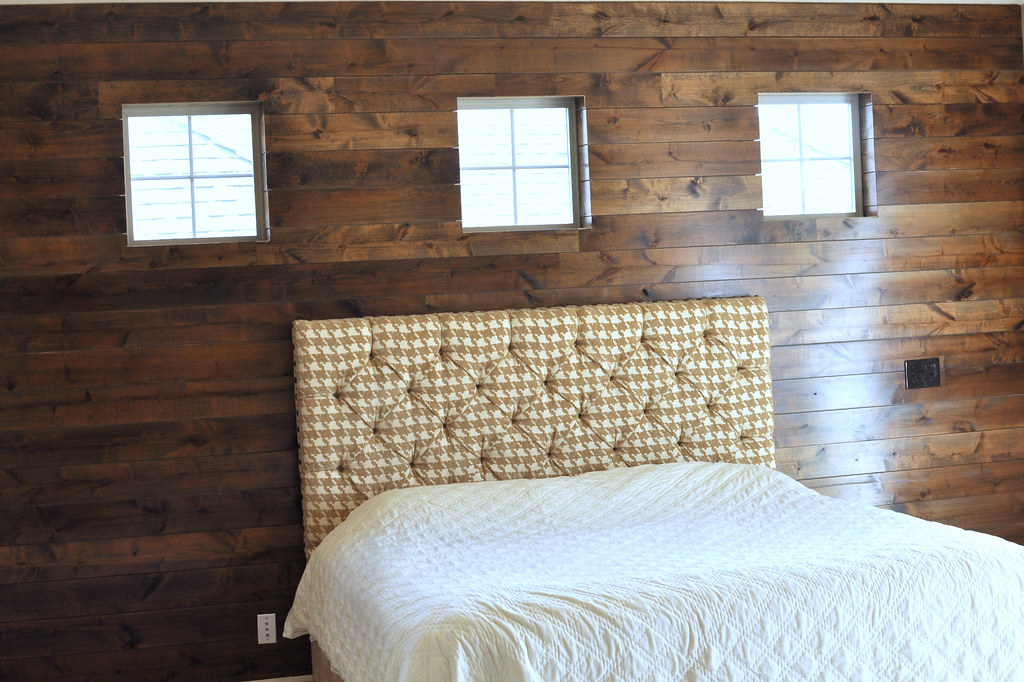
And Bam! The big reveal! I should have given you a little bit more warning it was coming.... It's dangerous to thrust that much beauty on a person all at once.... Smiley face!
But seriously.... Come on, isn't it incredible? Yes... Yes it is!
Any home improvement needs? Call Drew...
801.244.8790
801.244.8790



ha...you kill me.
ReplyDeleteGreat wall. I love wood. I want to do something similar in my guest room.
ReplyDeleteI know! I want it now too! I guess first I want a sink in my bathroom.... But some day a paneled wall!
ReplyDeleteLinds I'm obsessed with that wall! Was it flooring? I'm so jealous of how handy you guys are... if I ever buy a house someday, you can help me make it amazing
ReplyDeleteGorgeous wall!!! Saw you on Better After. Kudos to your husband!
ReplyDeleteWow! What kind of wood did you use? I love the texture in the wall.
ReplyDeleteIt's a knotty alder wood... With a mahogany stain! The texture is great!
ReplyDeleteIt's gorgeous! Pinning this!
ReplyDeleteAbsolutely gorgeous wall! I really love it. Drew did a beautiful job for sure.
ReplyDeleteWow! That is a great look. What kind of wood is it?
ReplyDeleteThe Next Fifty Years
I am seriously blown away by this project! I can't imagine the time it took to create, staining one board at a time! LOVE!
ReplyDeleteSorry, I don't like the new wall. It's too dark too busy and closes things in too much. Looks more like a man cave than a relazing bedroom.
ReplyDeleteWow...wow...wow! Beautiful. Just stopping over from Better After and just had to leave a kudos comment!
ReplyDeleteFantastic!
~Pam
pamspaintparlor.typepad.com
Very impressed!!! All the hard work paid off.
ReplyDelete(PS I found you on Better After via CakeWrecks, weird I know, but I found you :) )
Gorgeous!
ReplyDeletewhat is the brand & type of wood conditioner used?
ReplyDeleteThe wood is alder, we used the minawax preconditioner, with a minawax mahogany stain...
ReplyDeleteThis wall is amazing! What an eyecatcher!
ReplyDeleteW.O.W. Really, really love it!
ReplyDelete